


We’re moving forward with a new way to access Trengo on mobile—using a Progressive Web App (PWA). This means you can now use Trengo just like a regular app on your phone, without downloading it from the App Store or Play Store.
A PWA is a web-based app that works just like a native mobile app. It lives on your home screen, supports notifications, and is always up-to-date—no need for downloads or updates from an app store.
How to install Trengo as a PWA
Follow the steps below to install Trengo on your mobile device. We’ve broken it down for iOS and Android devices.
🔔 Important: The PWA is browser-based, so browser access is essential. To install the PWA, users must use a mobile browser like Safari (iOS) or Chrome (Android). Apps cannot be installed through other apps or native system interfaces.
For iOS Mobile Devices
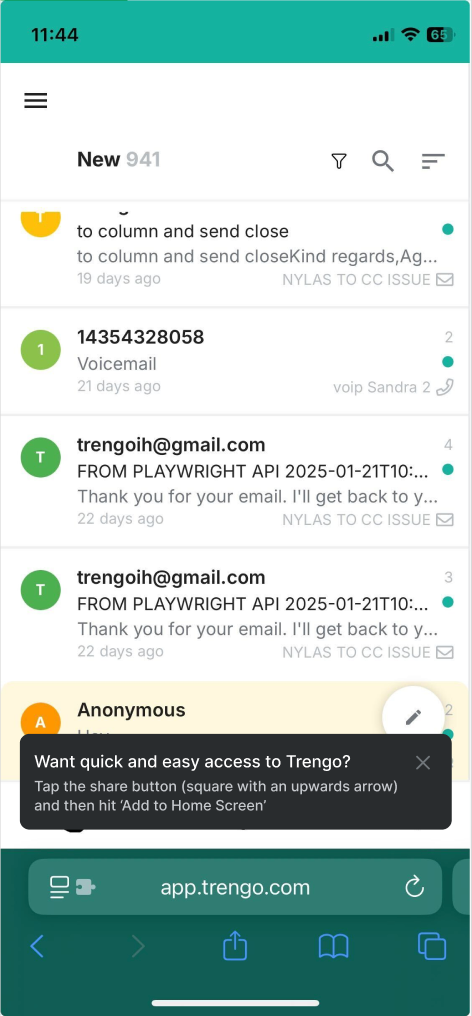
1. Open Trengo in your mobile using Safari
Open Safari on your device and go to:
2. Add Trengo to your Home Screen
Once you’ve opened Trengo in browser, you’ll receive a message asking you to add Trengo to you home screen. On IOS devices, this is required to receive notifications and you can do it by following the steps below:
- Tap the Share icon (square with an arrow pointing up).
- Scroll down and tap Add to Home Screen.
- Tap Add in the top-right corner.
You’ll now see the Trengo icon on your home screen—just like any other app!
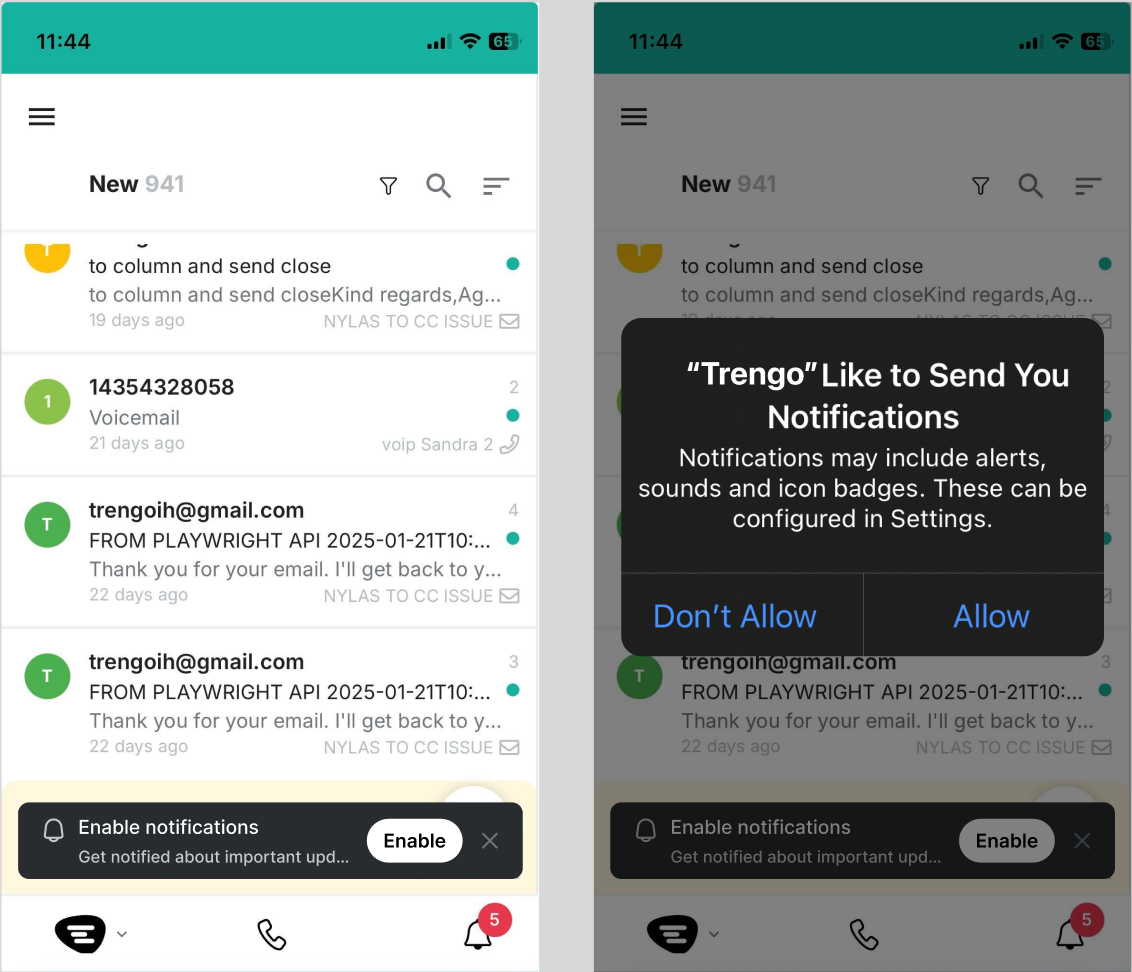
3. Enable Notifications
Once you open Trengo from your home screen:
- You’ll first see a message asking you to allow notifications. Tap Allow.
- This step is necessary for receiving real-time messages, updates, and alerts from Trengo.
For Android Mobile Devices
1. Open Trengo in your browser
Open Chrome (or any modern browser) on your Android device and go to:
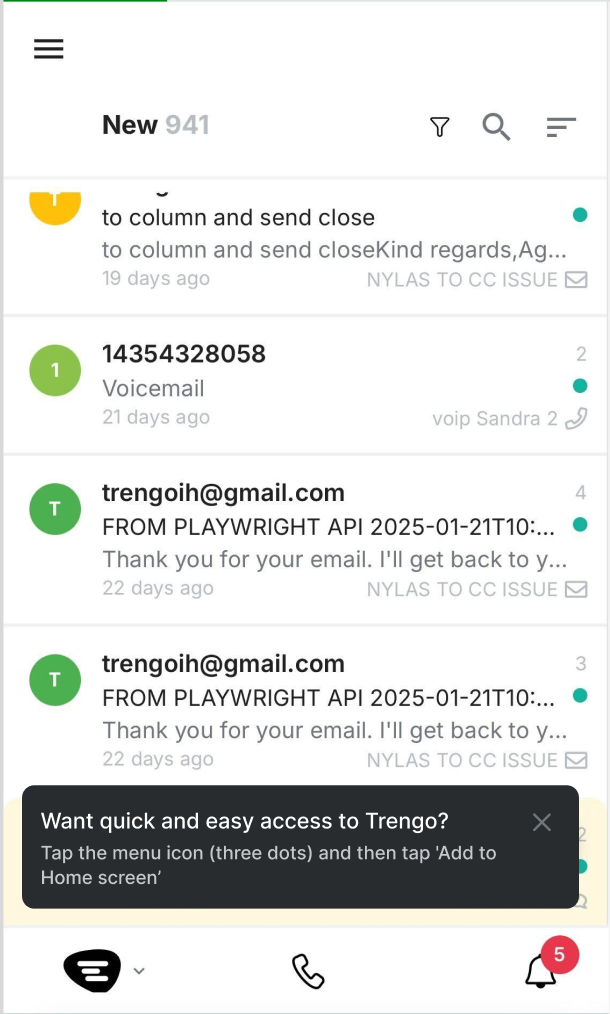
2. Add Trengo to your Home Screen
Once you’ve opened Trengo in mobile browser, you’ll receive a message asking you to add Trengo to your home screen.
To do so ,simply follow the steps below:
- Tap the three dots menu (⋮) in the top-right corner.
- Tap Add to Home screen.
- Tap Add, then confirm.
Once added, Trengo will appear alongside your other apps, making it quicker to access.
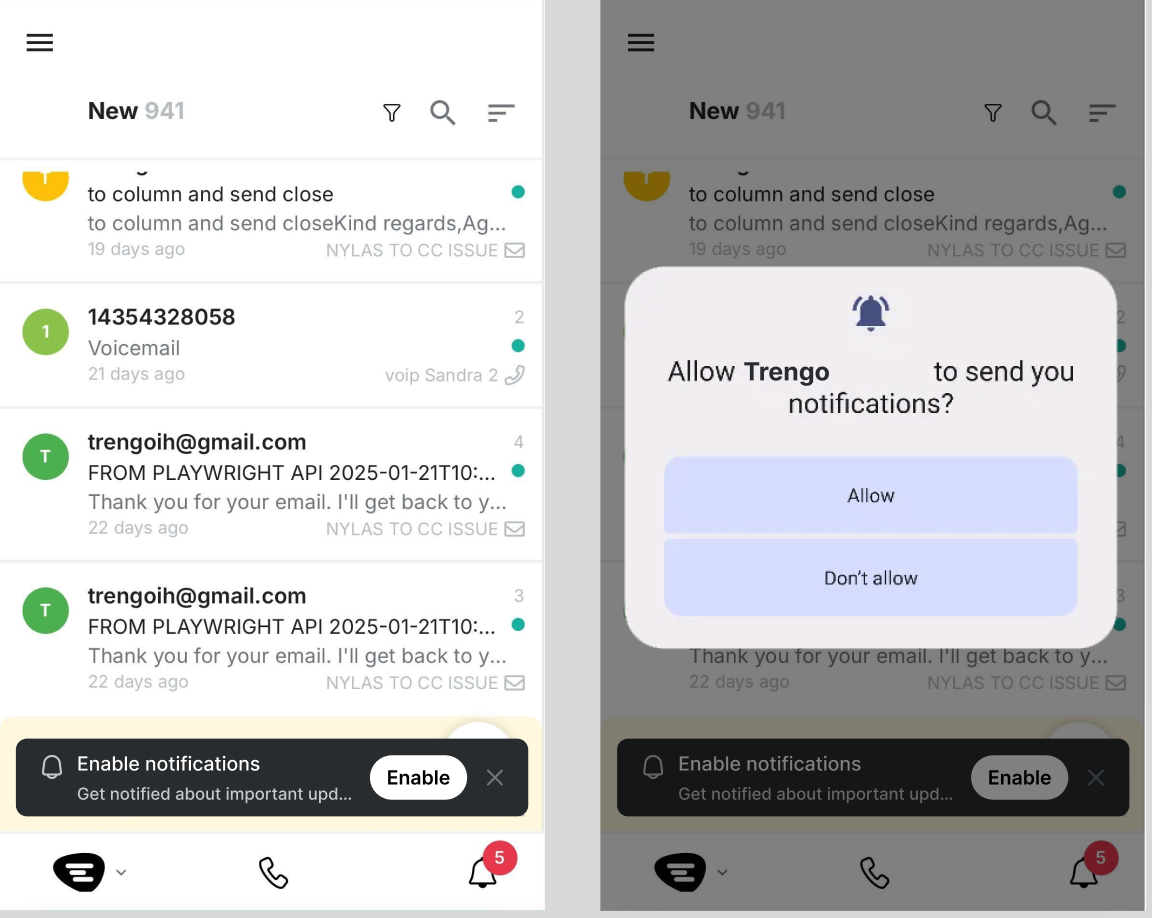
3. Enable Notifications
Once you open Trengo:
- You’ll first see a message asking you to allow notifications. Tap Allow.
- This step is necessary for receiving real-time messages, updates, and alerts from Trengo.
If you prefer using Trengo on your desktop as a standalone app, you can install PWA to your desktop and use it like a native app!
On macOS or Windows Desktop Devices
- Open Chrome and go to the Trengo web app.
- Look for the install icon in the address bar (a small computer with a down arrow) and click Install
Tip: Once installed, Trengo appears in your Applications folder and Launchpad
On macOS Desktop Devices
- Open Safari and go to the Trengo web app.
- From the menu bar, click File > Add to Dock.
- Name the app and click Add.
Managing Your Notifications
You can manage your notification preferences any time by going to your profile settings in Trengo:
- Tap on your profile icon
- Go to Edit your profile > Preferences
You can turn on the toggle if you want to receive notifications to your device.
Note: If you don’t see “received notifications” toggle under your preferences page, that means notifications are blocked from your device settings and you should first enable it in your device.To do that, manually change your preference in your device setting. We explain how to do that in this article: Enable push notifications in Trengo