


Customers often have questions before and after placing an order. Unanswered questions can create friction, reduce conversions, and increase support volume.
With Trengo AI Agent, you can automate common pre- and post-purchase questions, guide customers instantly, and reduce repetitive work for your support team.
Before you start
Before setting up this automation, make sure you have:
- A Shopify or WooCommerce store;
- Access to your Trengo account;
- Permission to create or edit AI Agents;
- Your FAQs, policies, or product information available;
You’ll also need to complete the setup for your webshop integration:
Step 1: Create an AI Agent
Next, create a new AI Agent in Trengo.
- Go to AI Agents in Trengo;
- Click Create AI Agent;
- Choose the quick setup option, if available;
- Follow the steps to create your AI Agent.
Step 2: Add an integration action
After creating your AI Agent, add the webshop integration as an action.
- Open your AI Agent;
- Go to Capabilities;
- Click Add integration action;
- Select your webshop integration:
- Shopify, or
- WooCommerce
This allows the AI Agent to use webshop data when helping customers.
Step 3: Add your support information
Make sure your AI Agent has access to the information it needs to answer pre- and post-purchase questions.
Add information such as:
- Shipping policy;
- Delivery times;
- Return policy;
- Refund policy;
- Product FAQs;
- Payment methods;
- Warranty information;
- Contact or handover instructions.
This helps the AI Agent give complete and consistent answers.
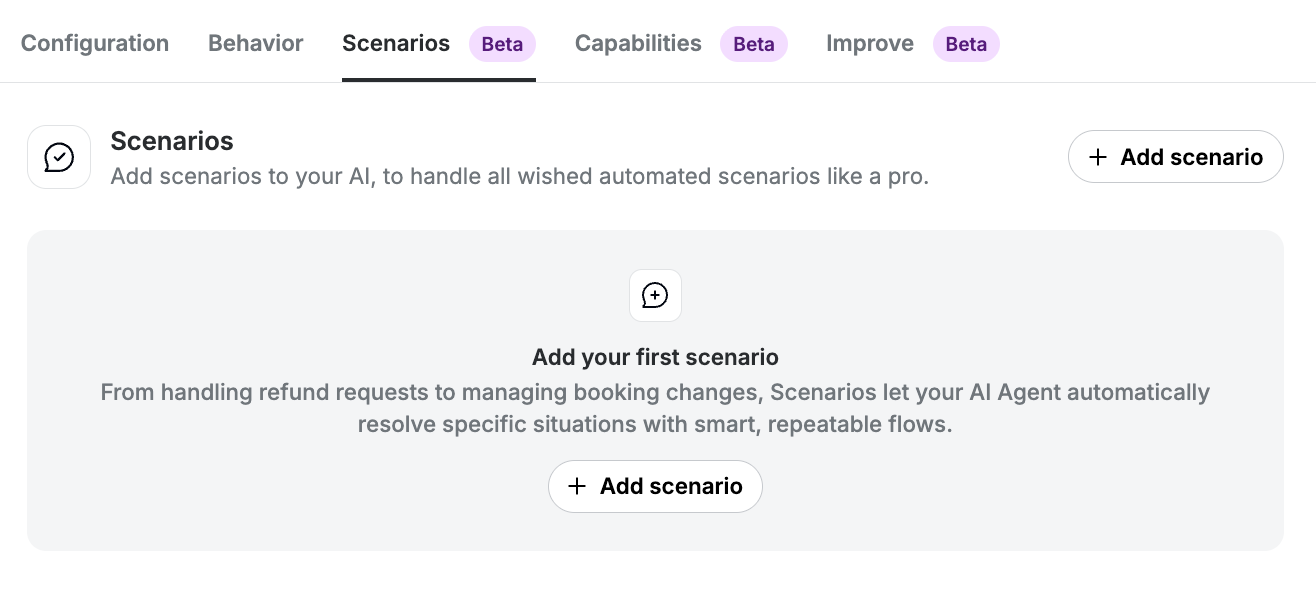
Step 4: Add the pre- and post-purchase Skill
First add the corresponding Skill to your AI Agent.
You can find these Skills by clicking on add Skills and selecting the right template from the list available:
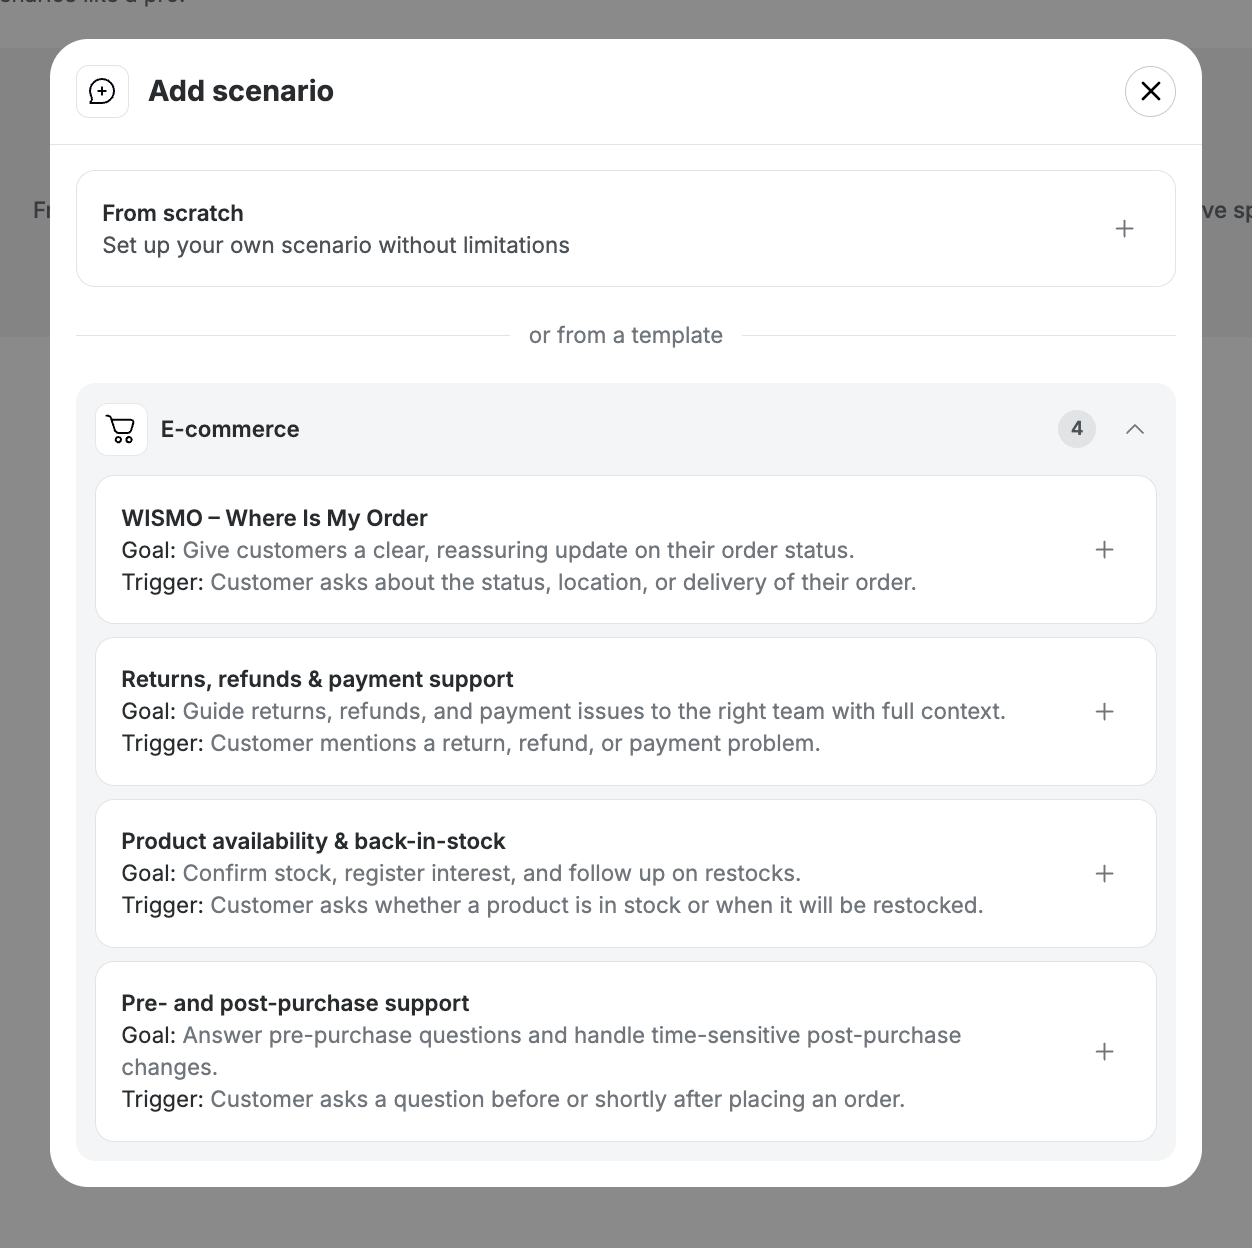
After adding the Skill, review it and make adjustments where needed. For example, you can add your brand tone of voice, handover rules, or specific instructions for product and policy questions.
Step 5: Configure your AI Agent
Set up the rest of your AI Agent.
Make sure to review:
- Configuration
- Behaviour
- Connected channels
- Handover rules
- Escalation instructions
- Topics the AI Agent should or should not answer
This helps your AI Agent provide useful answers while knowing when to involve a human agent.
Step 6: Test the automation
Before publishing your AI Agent, test the automation in Preview.
Use example customer questions such as:
- “How long does shipping take?”
- “Can I still change my order?”
- “What payment methods do you accept?”
- “What is your return policy?”
- “Can you help me choose the right product?”
- “I placed an order, what happens next?”
Check whether the AI Agent gives accurate answers and follows your handover rules.
Step 7: Publish your AI Agent
When everything works as expected, publish your AI Agent.
- Open your AI Agent;
- Click Publish;
- Confirm that you want to go live.
Your AI Agent can now help customers before and after purchase.
What this automation can help with
Once live, the AI Agent can help customers with:
- Shipping questions;
- Delivery times;
- Product questions;
- Return and refund policy questions;
- Payment method questions;
- Order-related FAQs;
- Post-purchase guidance;
- General webshop support.