


By adding live chat to your Trengo account and adding it to your web widget, you'll be able to manage all incoming messages from your site visitors directly in your Trengo inbox.
Add live chat to your Trengo inbox
Follow the steps below to create a live chat channel.
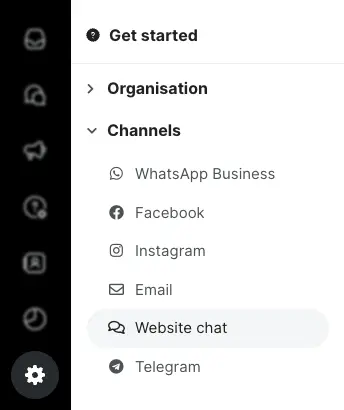
1. Navigate to Settings > Channels > Live chat, and click the ‘plus’ icon;
2. Set up your live chat;

1. Internal name: Give your live chat a recognizable name.
2. Color: Optionally, give your live chat a color, which is for internal use only.
3. Notification: Choose a notification sound for this channel, or turn the notifications off.
4. Business hours: Choose the business hours in which you’re team is available to answer conversations started through this channel.
5. Notification email: Optionally, add an email address to which an email is sent when a new conversation is started.
After clicking ‘Create channel’, you’ve now added a live chat channel to your Trengo account.
Add the live chat channel to your web widget
Now it’s time to add the live chat channel to your website widget. Continue following the steps below to do so.
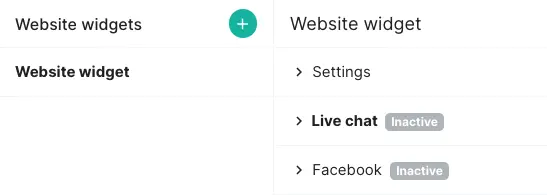
1. Navigate to Settings > Settings > Web widgets. Select your web widget;

ℹ️ If you do not yet have a web widget set up yet, first add a web widget to your Trengo inbox and add the web widget to your website;
2. Select ‘Live chat’;
3. Click the ‘Turn on live chat’ toggle and set up your live chat in your web widget;

- Turn on live chat: Click this toggle to enable or disable your live chat.
- Channel: Select the live chat channel you’d like to use here.
- Online 24/7: Click this toggle if you have AI connected to your live chat and want to keep the chat 24/7 online for your visitors.
- Close inactive chats automatically: When enabled, chats will be automatically closed after the number of seconds you’ve set here.
- Show greeting next to widget: Show your customers you’re available to chat. You can change the text shown by navigating to your web widget > Translations and changing ‘How can we help you?’.
- Always show chat as open: If enabled, your live chat will always be available and accessible to your customers. After initiating a chat, the customer will be asked for their email address. When there are users online to handle the chat, it will continue as normal. If no users are online, the customer will be asked to leave a message, which you can follow up on via email. Use this toggle, if you do not have AI connected to you lice chat channel, but want to keep the chat “open” for visitors to leave their email when there is no human agent available. This toggle is automatically turned of if Online 24/7 toggle is on.
- Ask for details before chat: Enable this option and optionally set up the custom fields you’d like your customers to fill in before they start a chat with you. In this way, customers fill in their own ticket field(s) and you have all information you need to help the customer efficiently and successfully. If no custom field is selected, the info will be stored as a ticket note.
- Show offline form outside business hours: Enable this option to close your chat outside your business hours. This works when there is no AI connected to the live chat.
- Send missed chats to: Enter an email address to which the customers’ messages are sent when the feature above is enabled.
After clicking ‘Update widget’, your live chat is online. Add your web widget to your website if you have not done that already, if you want to enable AI in your live chat, make sure you check How to configure your Live Chat and Widget for AI article.