--------------------------------------------------------------------
Make sure to update Google Universal Analytics
to Google Analytics 4, before July 1, 2023.
--------------------------------------------------------------------
After adding a web widget to your website, you’re able to track several widget events via Google Analytics. In this article, we’ll show you how to set this up.
First, if you are starting from scratch, you would need to create an analytics account, create a new property and add a data stream within Google. You can refer to this article for the step-by-step guidance.
However, if you already have a running analytics in place, please refer to this article instead.
Tracking widget events
When connecting your website widget to Google Analytics, the following events will be tracked.
🔘 The web widget is opened
🔘 The chat is online
🔘 A chat has been started
🔘 A customer sends a chat reply
🔘 A customer fills in their email in the ‘Show always as available’ feature.
🔘 A chat has been closed by a user
🔘 A customer opens another channel in the widget
🔘 The web widget is closed
Connecting Google Analytics
Follow the steps below to connect your website widget to Google Analytics.
1. Make sure you have installed your Google Analytics Tracking code on your website;
ℹ️ You need the GA4 Analytics Tracking code in order for this to work.
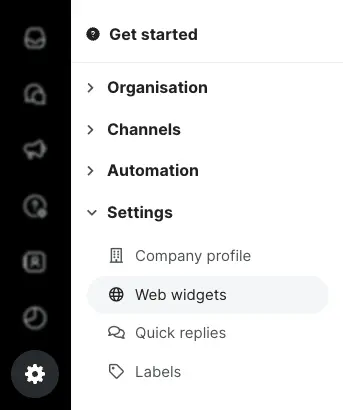
2. Navigate to Settings > Settings > Web widgets;

3. Select the widget you’d like to track and click ‘Settings’;

4. Enable ‘Send events to Google Analytics’;

After clicking ‘Update widget’, the widget events will now be tracked in Google Analytics. These analytics can be found by heading to Google Analytics and navigating to Behavior > Events > Trengo widget.


