




With the appointment scheduling skill, your AI Agent books a meeting with a qualified lead directly in the conversation, so there's no back-and-forth to find a slot, and your sales team walks into every call with full context. In this article, we'll show you how to add and configure this skill.
ℹ️ This is one of two skills available as part of Trengo for Sales. For an overview of all skills, read Setting up skills for your AI Agent.
⚠️ Draft note: field names and screens below follow the same pattern as the lead qualification skill. Please confirm exact labels with the product team before publishing.
Add the skill
- Go to AI Agents and select the AI Agent you want to configure;
- Open the Skills tab;
- Under Appointment scheduling, click 'Configure'.
Set the fields below and make sure the required integrations are connected. Trengo uses this information to set up the underlying behaviour of your AI Agent.
Step 1: Connect your integrations
Appointment scheduling requires a connected calendar, so your AI Agent can check availability and book directly into it.
Calendar: Connect your calendar (for example Google Calendar or Microsoft Outlook) under Settings > Integrations > Calendar, and select the calendar(s) your AI Agent is allowed to book into.
ℹ️ If you're also using the lead qualification skill, make sure your HubSpot Private App token includes crm.objects.meetings.write, so booked meetings are logged back to the contact and company record automatically.
Step 2: Add context
What should be scheduled? Describe the meeting type(s) your AI Agent can offer, for example a demo, an intake call, or a follow-up consultation, and how long each one takes.
Availability: Define which calendar(s), team members, or time windows are available for booking, so your AI Agent only offers realistic slots.
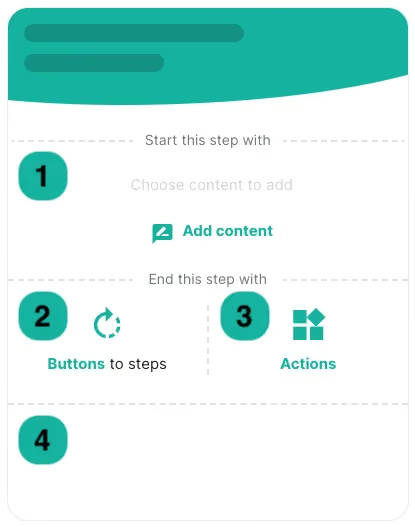
Step 3: Set up your actions
Configure what should happen once a meeting is booked, or if your AI Agent can't find a suitable slot.
1. Conversation label (Optional): The label added to the conversation in Trengo, so your team can recognise booked conversations at a glance.
2. Update ticket status to: The status the conversation is set to in Trengo once a meeting is booked, for example Pending or Closed.
3. Assign conversation to (Optional): The team or team member the conversation, and the booked meeting, is handed over to.
4. Add to board (Optional): If you use Trengo's boards, choose which board and stage the lead should be added to once a meeting is booked.
5. If no slot is found: Choose whether the AI Agent should escalate the conversation to a teammate or offer to follow up later.
Once configured, click 'Install skill'.
Test before going live
Once your skill is installed, review the prompt and make any final adjustments if needed. Then, try out your setup in Preview before going live.
We recommend testing your most common use cases and questions first, to build confidence in your AI Agent before switching it on for real conversations.

