By adding a web widget to your Trengo inbox, you create a framework to which you can add all channels your customers can reach out through. In this article, we’ll show you how to do this.
Adding a web widget
Follow the steps below to add a web widget to your Trengo inbox.
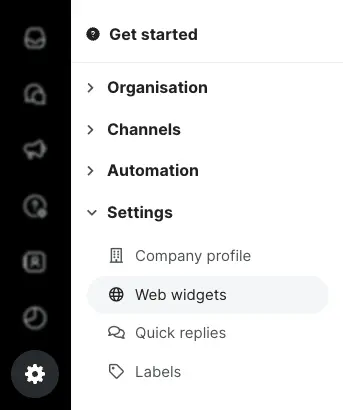
1. Navigate to Settings > Settings > Web widgets, and click the ‘plus’ icon;

2. Click ‘Settings’;

3. Set up your web widget;

1. Widget title: The title of your web widget, which will not be shown to the customer.
2. Company display name: The name of your company, displayed at the top of the web widget. You can manage it by clicking the ‘here’ button.

3. Default channel: Select the channel that shows when your customer opens your web widget.

1. Widget colour: Choose the colour that will be used in different parts of the web widget.

2. Show team: If enabled, your chat users (including profile picture and name) will be shown in the web widget.

3. Widget position: Choose on which side of your website you’d like to display the web widget.
4. Widget icon: Choose the icon that will be shown when the widget is closed.

1. Hide Trengo logo: Enable this button to hide the Trengo logo in your web widget.
2. Send events to Google Analytics: Enable this button if you’d like to track widget events in Google Analytics.
After clicking ‘Create widget’, you’re web widgets’ framework is set up. Now it’s time to add channels to your web widget.


