




Every user in Trengo has a user role. Trengo has five standard roles: Administrator, Supervisor, Advanced agent, Basic agent and Observer. These user roles have standard permissions assigned to them, and you can also create your own custom roles. As an Administrator in Trengo, you have the ability to add or remove certain permissions. In this article, we’ll explain to you how to edit user roles.
You are also able to edit the user's permissions exclusively in Pro account.
Edit user roles
To edit a user role in Trengo, follow the steps below.
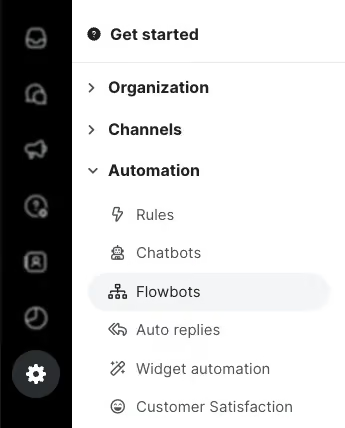
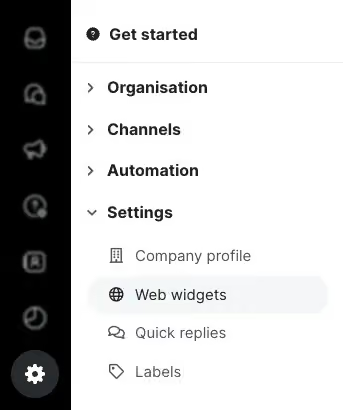
1. Navigate to Settings > Organisation > Users;

2. Click ‘Manage roles’;

3. Configure the user role(s) to your liking;

1. User roles: Choose which user roles you’d like to edit.
2. Basic permissions: Here you’ll see all the basic and standard permissions (which are not configurable) the selected user role has.
3. Configurable permissions: Enable or disable certain permissions for this user role.
4. Save user roles: When you’re done configuring permissions, click ‘Save user roles’ to confirm the changes you’ve made.
You’ve now successfully configured user roles’ permissions. Feel free to read more about user roles, or continue editing users in Trengo.
Create a custom role
If the standard roles don't match the way your team works, you can create your own roles and choose exactly which permissions each role has. There is no limit to the number of custom roles you can create.
1. Navigate to Settings > Organisation > Users and click ‘Manage roles’.
2. Click ‘Create role’ on the left.
3. Give the role a name and enable the permissions it should have.
4. Save the role.
You can now give the custom role to any user, just like a standard role, when you edit a user.

