


Mit dem Integration Hub von Trengo ist es ein Kinderspiel, Ihr Shopify-Konto mit Ihrem Trengo-Posteingang zu verbinden. Bitte vergewissern Sie sich, dass Sie sowohl bei Trengo als auch bei Shopify ein Admin sind, bevor Sie fortfahren. Bitte beachten Sie, dass unsere Integration auch Shopify Plus unterstützt.
Dies ist ein mehrstufiger Prozess.
Schritte, die Sie in Shopify durchführen müssen
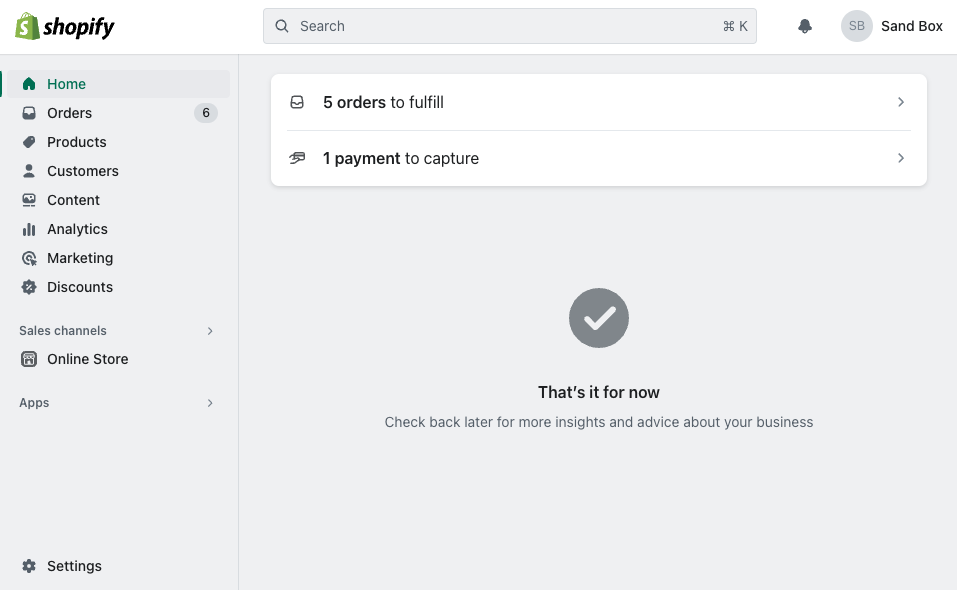
1. Melden Sie sich bei Ihrem Shopify-Konto.

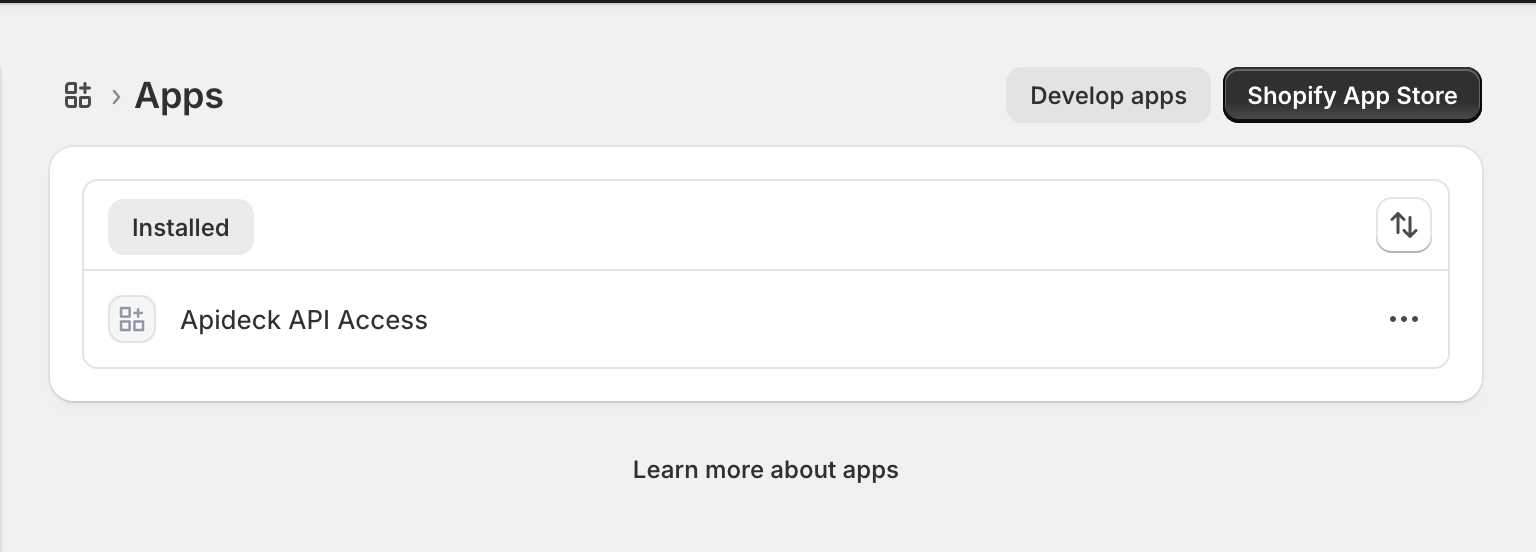
2. Klicken Sie in der linken Navigationsleiste auf „Apps“ und dann auf „App-Einstellungen“ oder klicken Sie auf „Einstellungen“ > „Apps“.
3. Klicken Sie oben rechts auf der Seite auf die Option „Apps entwickeln“.
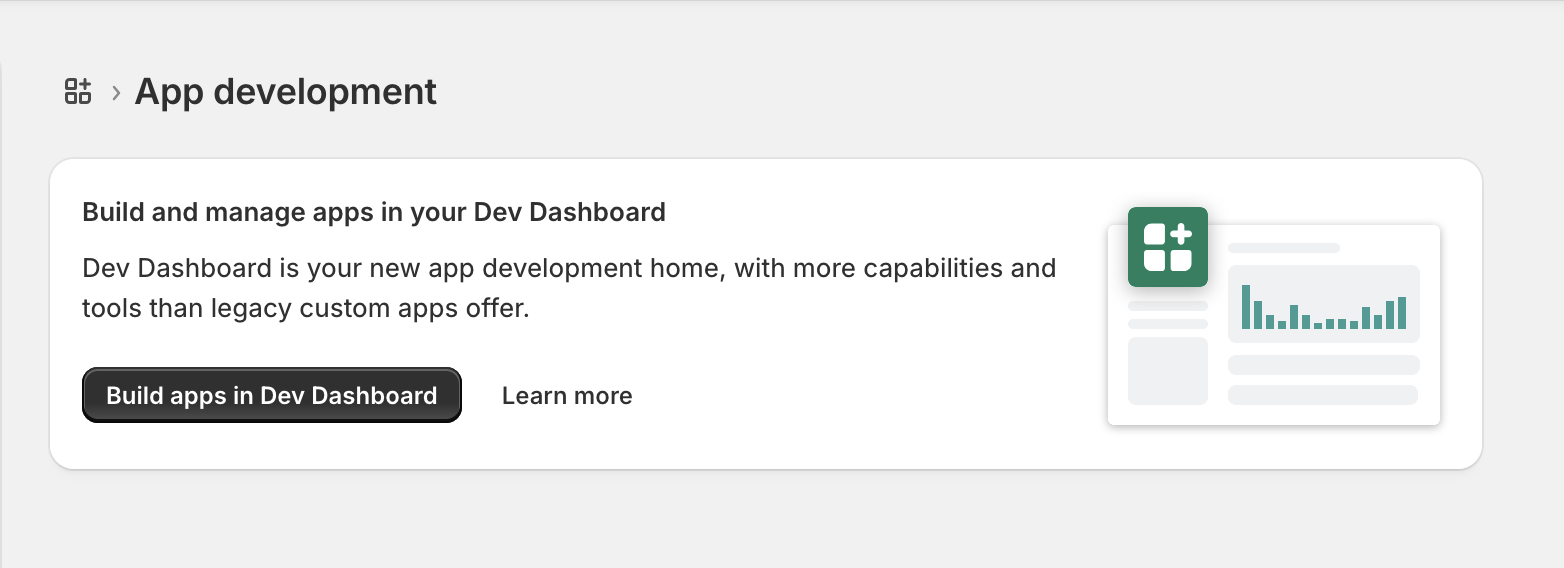
4. Klicken Sie auf die Option „Entwickeln“, um zum Shopify Dev Dashboard zu gelangen.
Erstellen Sie eine neue Entwicklungs-App
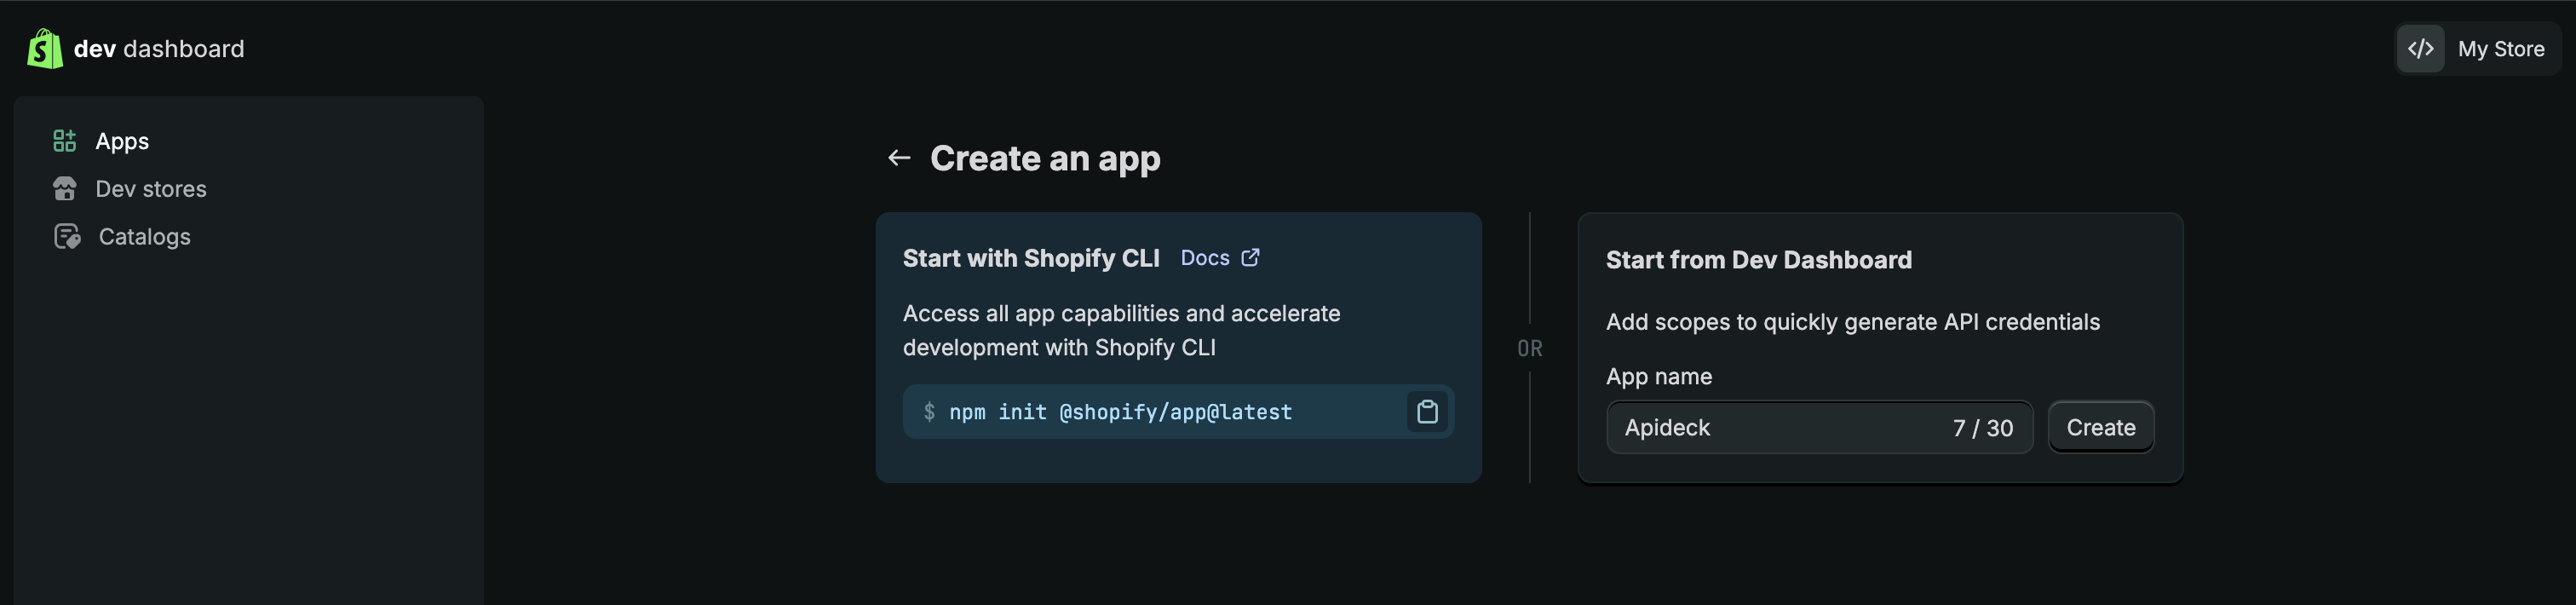
5. Sie werden nun zum Shopify Dev Dashboard weitergeleitet.
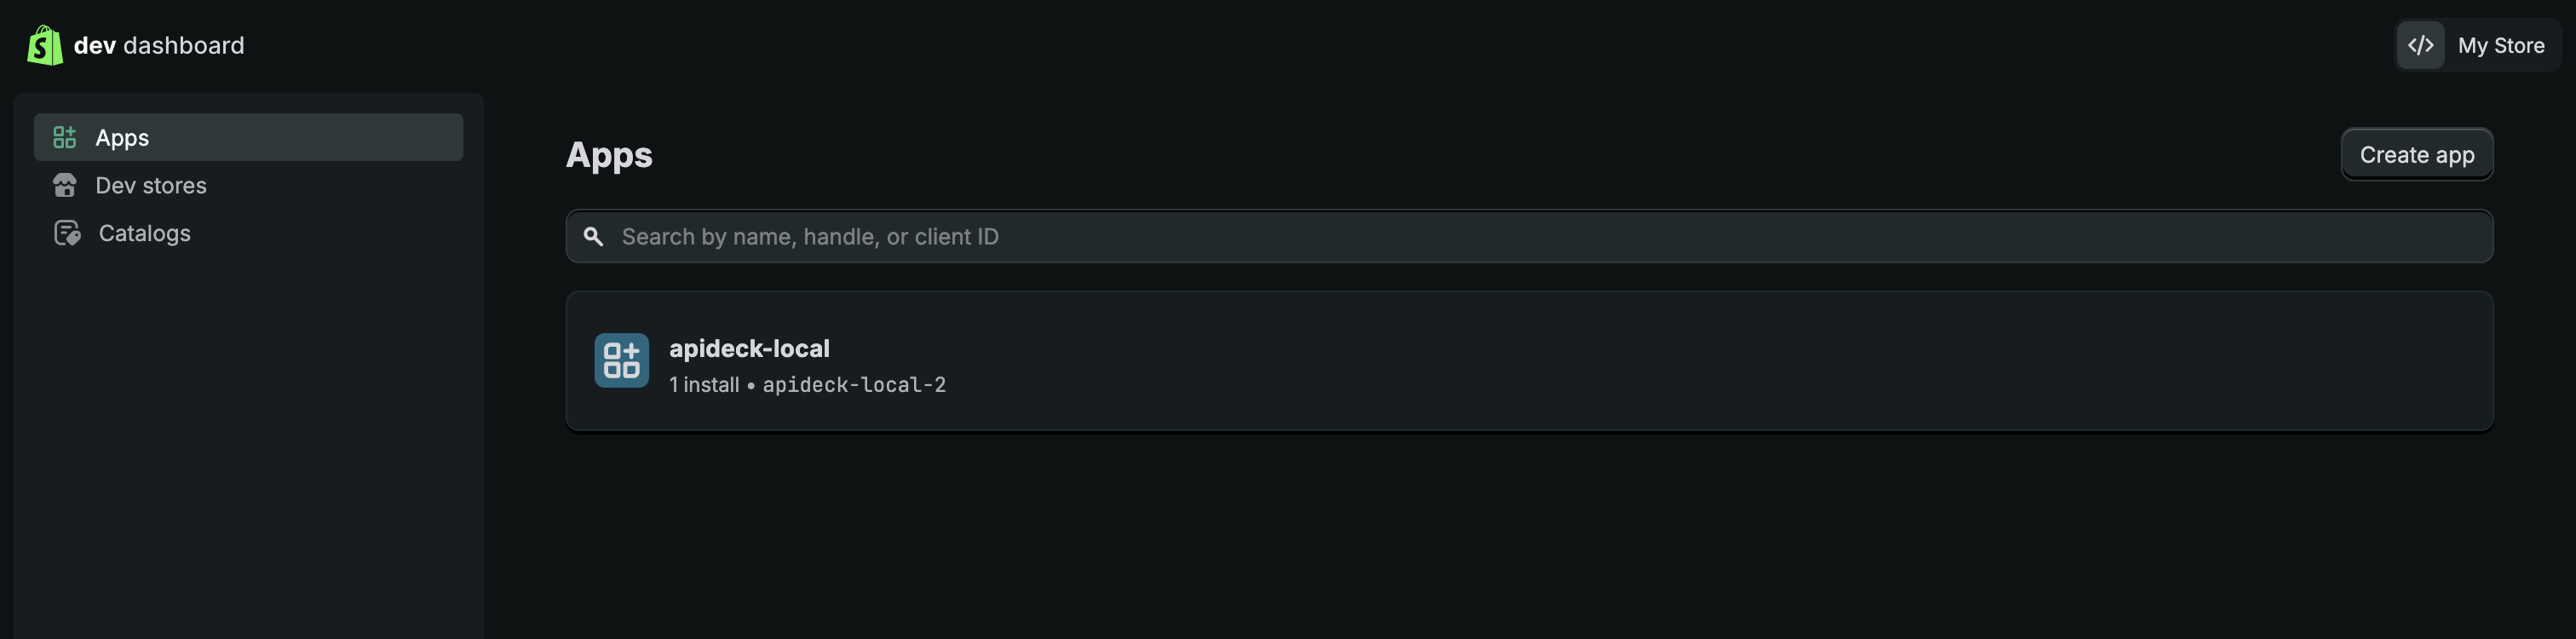
6. Klicken Sie auf die Schaltfläche „App erstellen“ und geben Sie den Namen Ihrer App ein.
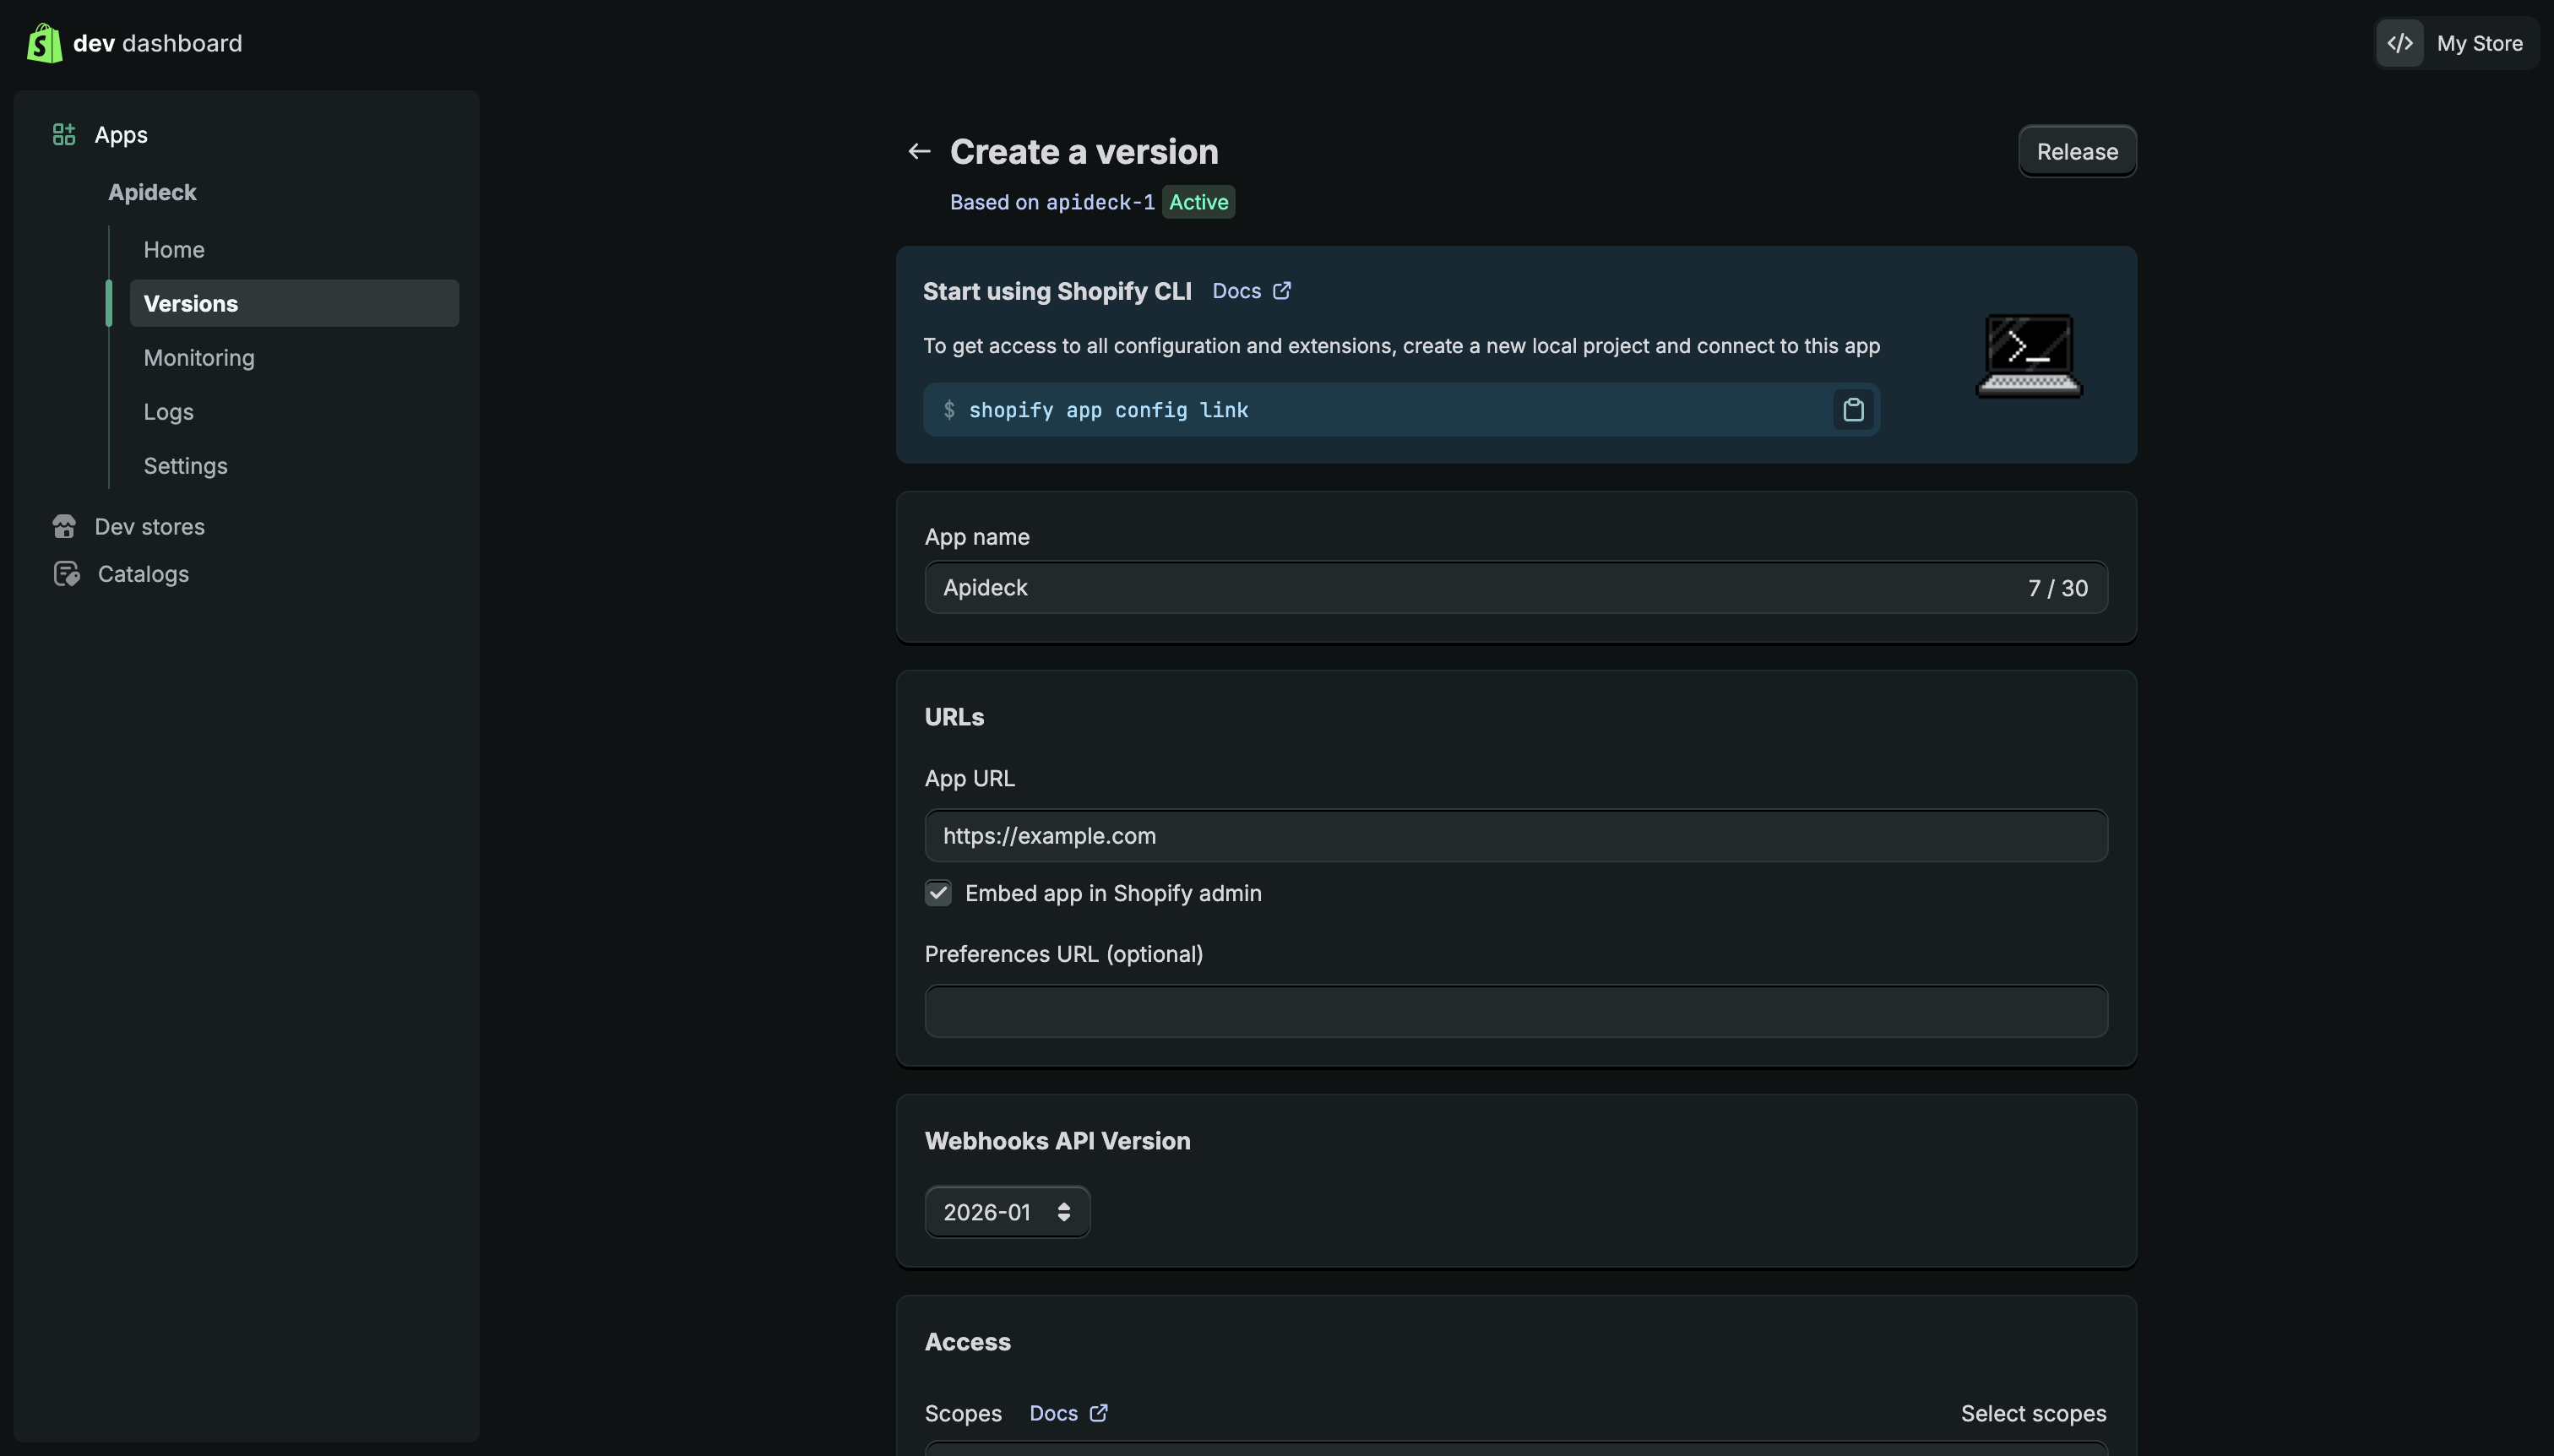
7. Nach der Erstellung der App werden Sie auf die Seite mit den App-Versionen weitergeleitet.
Admin-API-Bereiche konfigurieren
Um auf die Daten aus Ihrem Shopify-Konto zuzugreifen, müssen Sie die Admin-API-Bereiche konfigurieren.
8. Klicken Sie auf die Schaltfläche „Bereiche auswählen“, um die Admin-API-Bereiche zu konfigurieren, oder geben Sie die Bereiche direkt als durch Kommas getrennte Liste ein.
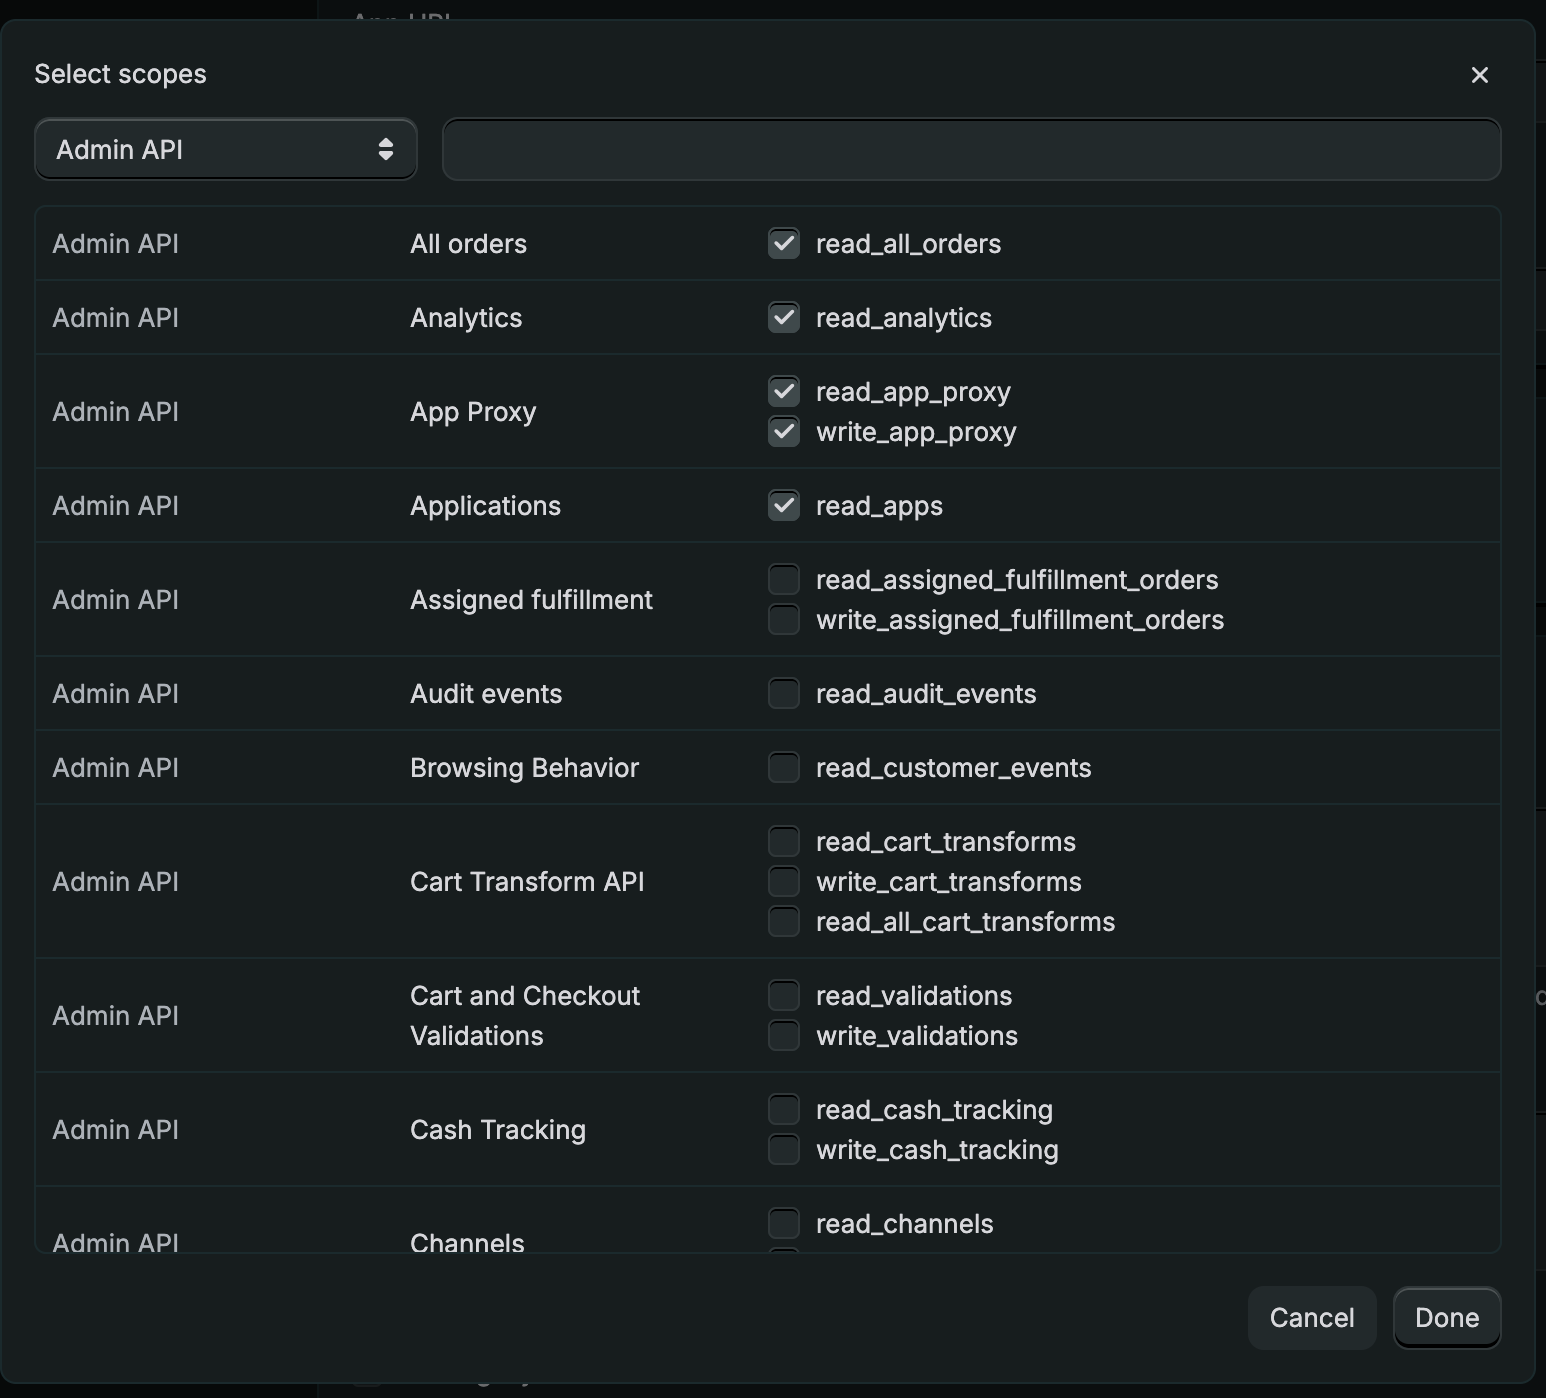
9. Für die Shopify-Integration müssen Sie die folgenden Bereiche auswählen, damit die Integration die Daten aus Ihrem Shopify-Konto abrufen kann. Da Shopify über zahlreiche Bereiche verfügt, können Sie die erforderlichen Bereiche ganz einfach über das Suchfeld aktivieren.
Empfohlene Scopes zum Auslesen von Daten aus Ihrem Shopify-Konto:
- zugewiesene_erfüllungsaufträge_lesen
- kunden_lesen
- kunde_lesen_zusammenfassen
- read_discounts
- read_draft_orders
- lese_erfuellungen
- lese_erfuellung_einschraenkung_regeln
- geschenkkarten_lesen
- bestandsaufnahme_lesen
- lese_online_laden_seiten
- lese_Orte
- read_merchant_managed_fulfillment_orders
- read_metaobjects
- aufträge_lesen
- zahlungsbedingungen_lesen
- preis_lesen_regeln
- produkt_listen_lesen
- produkte_lesen
- einkauf_optionen_lesen
- lesen_zurück
- lesen_versand
- read_locales
10. Sobald Sie die gewünschten Bereiche ausgewählt haben, klicken Sie auf die Schaltfläche „Fertig“, um die Konfiguration zu speichern.
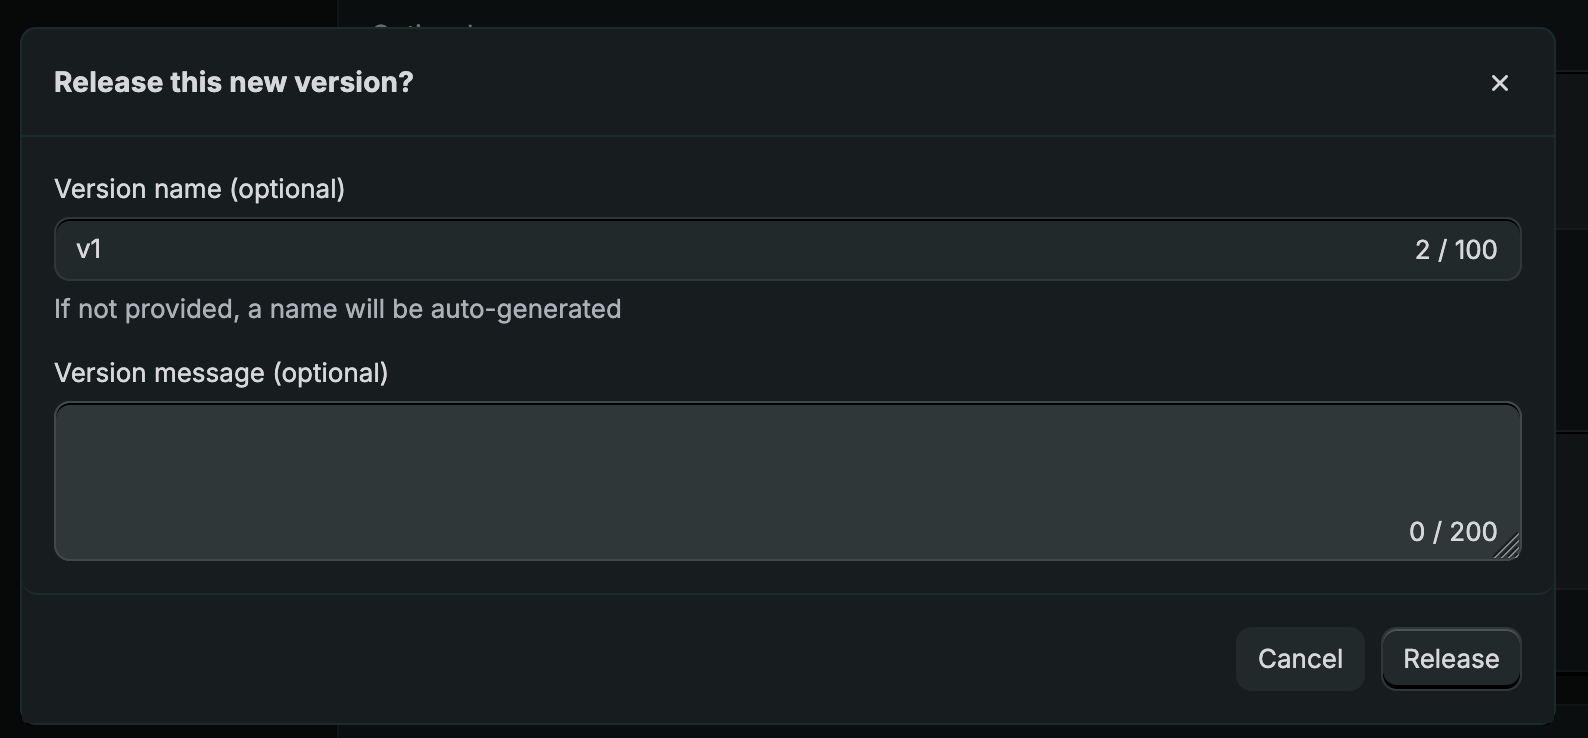
11. Klicken Sie auf der Versionsseite auf „Veröffentlichen“. Sie können einen Versionsnamen und eine Meldung eingeben und die App anschließend veröffentlichen.
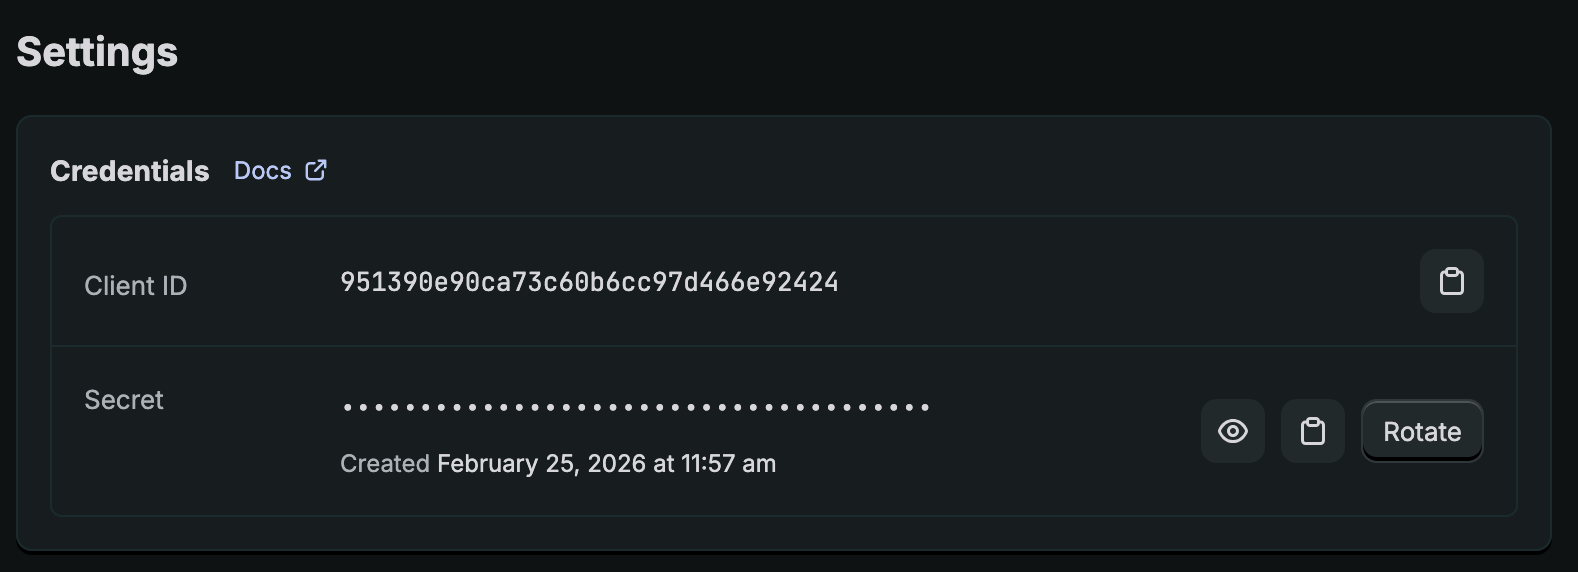
Client-Anmeldedaten abrufen und App installieren
12. Wechseln Sie zum Abschnitt „Einstellungen“, um die Anmeldedaten des Clients abzurufen.
13. Gehen Sie zum Abschnitt „Startseite“, um die App zu installieren, und klicken Sie auf die Schaltfläche „App installieren“, um die App zu installieren.
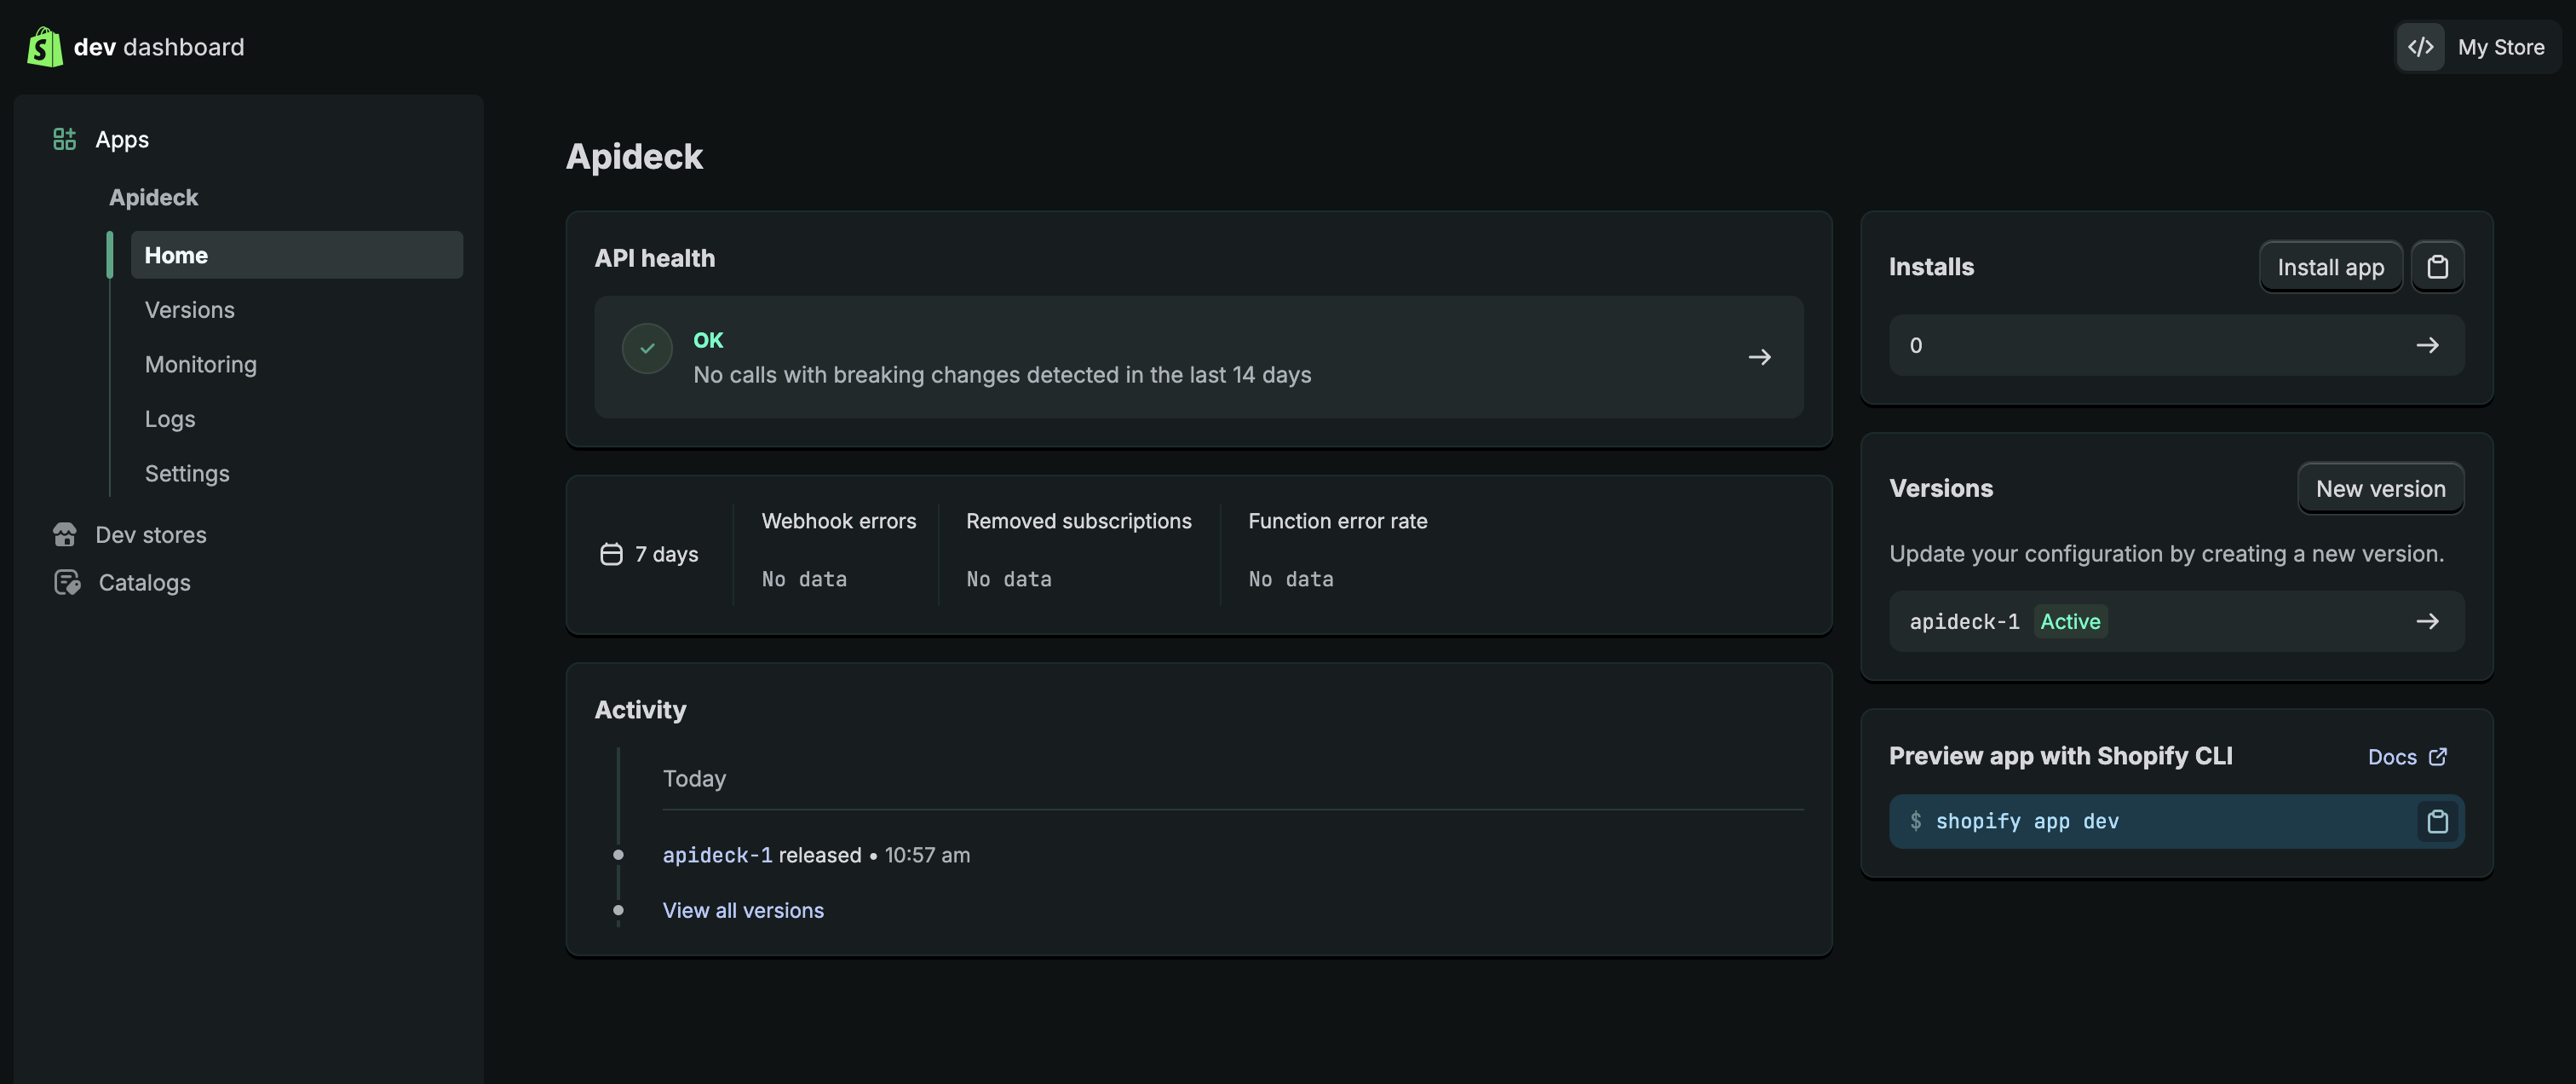
14. Nach diesem Schritt werden Sie zu Shopify weitergeleitet, wo Sie die App in Ihrem Shop installieren können, indem Sie auf „Installieren“ klicken.
Schritte, die in Trengo zu unternehmen sind
Endlich! Wir wissen, dass es ein langer Weg ist, aber diese Schritte sind entscheidend dafür, dass Shopify in der Trengo-Umgebung funktioniert.
1. Navigieren Sie zu den Trengo-Einstellungen, wählen Sie dann "Einstellungen" und anschließend "Integrationen".
2. Wählen Sie "E-Commerce" und klicken Sie dann auf die Karte "Shopify", um die Beschreibungsoberfläche zu öffnen.
3. Klicken Sie auf "Integration installieren" in der oberen rechten Ecke, um das Installationsfenster zu öffnen.

4. Geben Sie den Namen Ihres Shops ein. Beachten Sie, dass dies normalerweise der erste Teil der URL in Ihrer Shop-Domain ist, da das Präfix https:// und das Suffix .myshopify.com automatisch hinzugefügt werden.
Dein Shopify-Konto ist jetzt verbunden 🚀