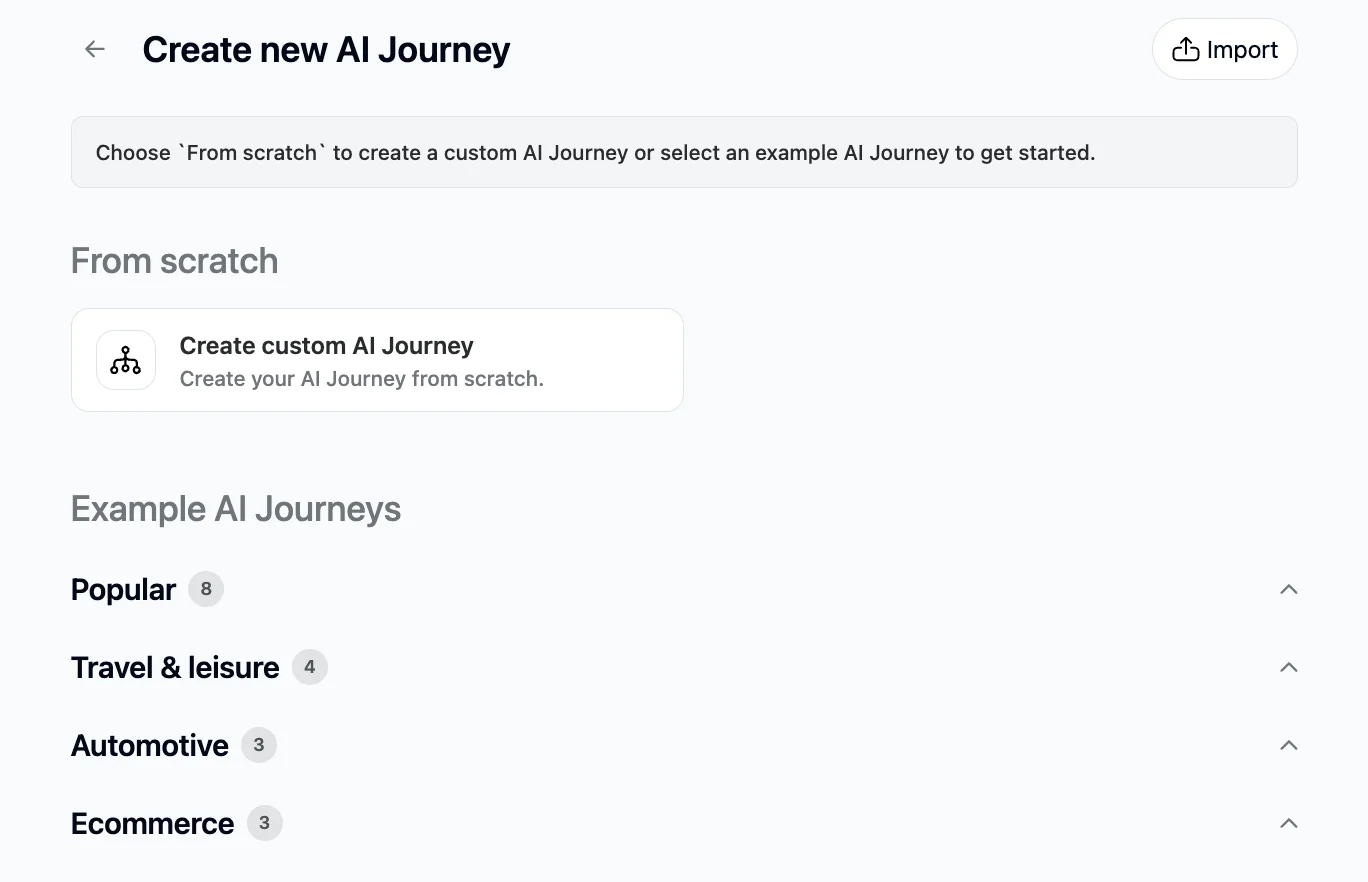
With Trengo AI Journeys, you can now create even better conversations and routing for your customers. Its no-code, no-certification setup allows you to start building your own AI Journeys right away. If you need an estimate of how much average time saved when you use AI Journeys, take a look below:
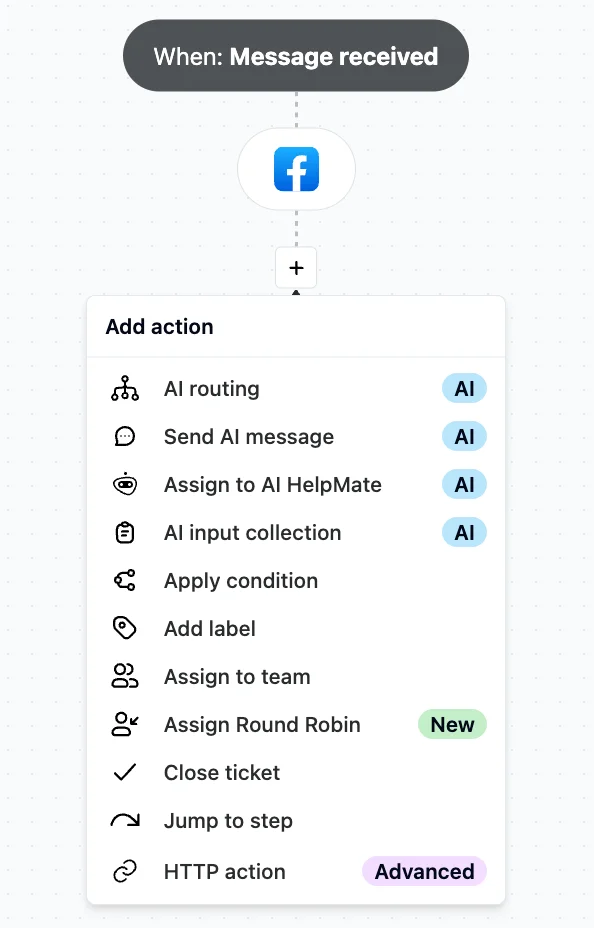
AI Routing - On average 40 seconds saved per trigger
AI Routing identifies and routes the conversation to the right path.
Without AI routing, an agent needs to review each conversation, quickly assess the message, and determine whether they can respond based on their expertise or if it should be assigned to another agent or team. This process applies to reopened conversations, ongoing conversations with a history, and entirely new incoming conversations.
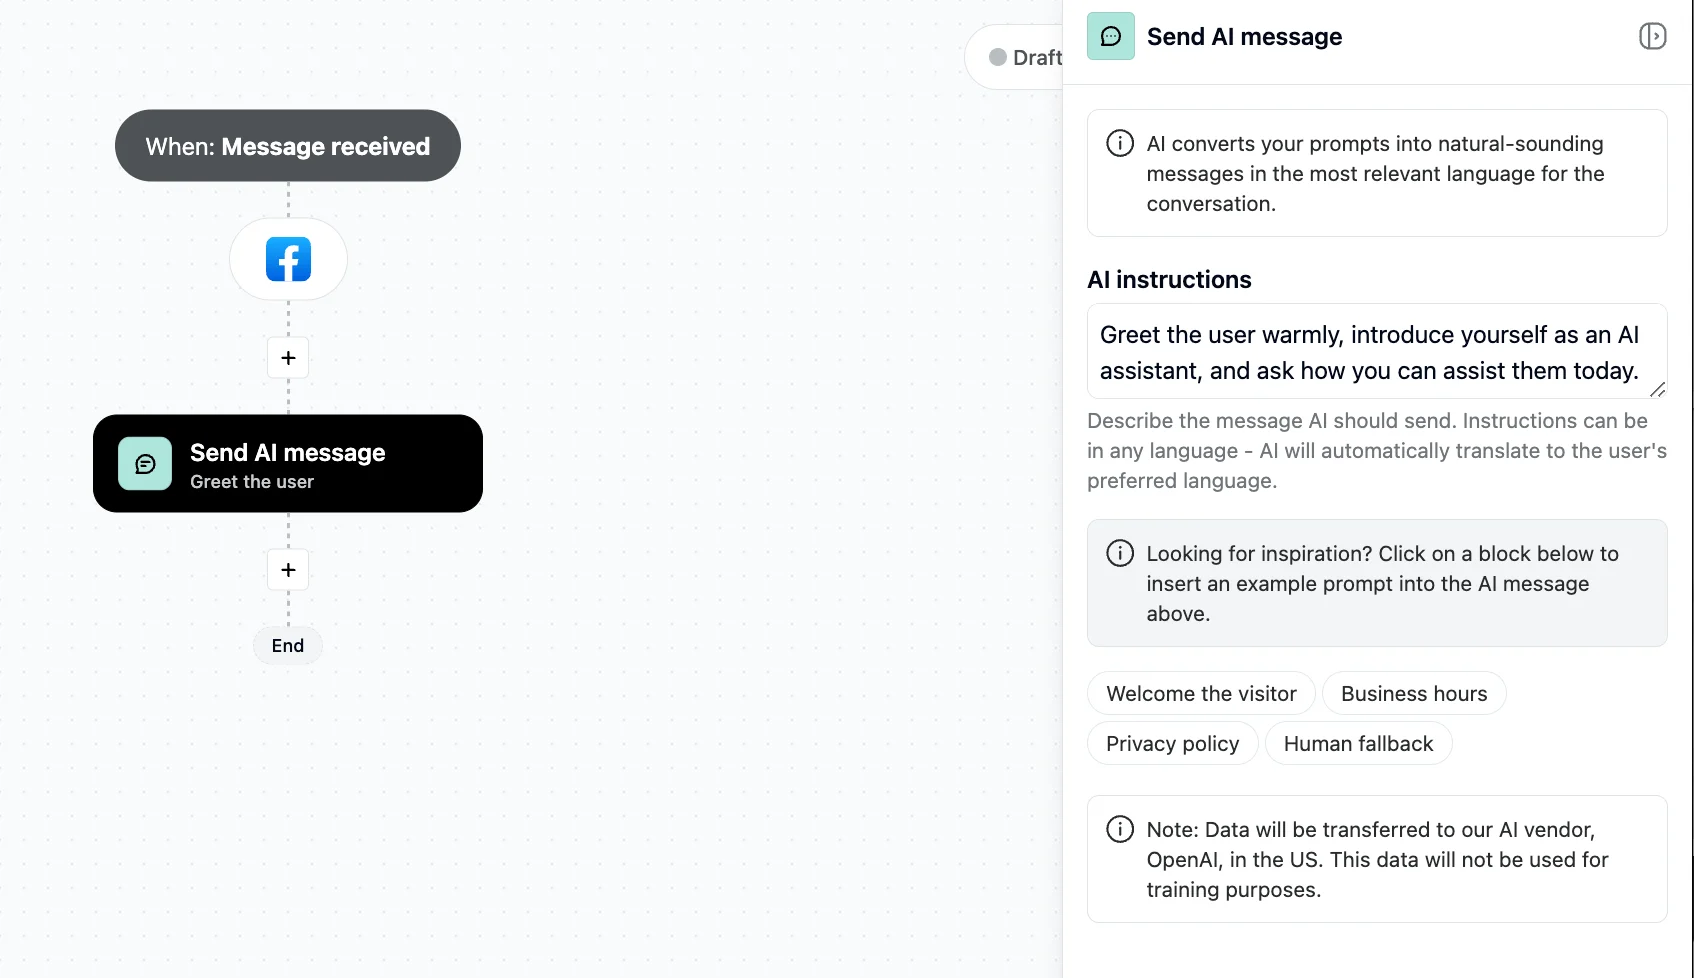
AI Message - On average 20 seconds saved per message
AI converts your prompts into natural-sounding messages in the most relevant language for the conversation.
Without AI message, an agent needs to draft a response to each incoming message. In some cases. They may also need to translate the message into other languages before crafting and sending an accurate response back.
AI summary - On average 60 seconds
AI breaks down your full conversation into a summary.
Without AI summary, an agent needs to reads through all the messages or emails and summarize it based on all the context.
Per AI HelpMate Message - On average 60 seconds saved per message
AI HelpMate helps you to answer questions from customers on autopilot based on added knowledge.
Without AI HelpMate message, an agent needs to identify the question, search relevant documents for the correct information, check potentially the history, and sometimes consult with colleagues to gather additional knowledge. They may also need to translate the message into other languages before crafting and sending an accurate response back.
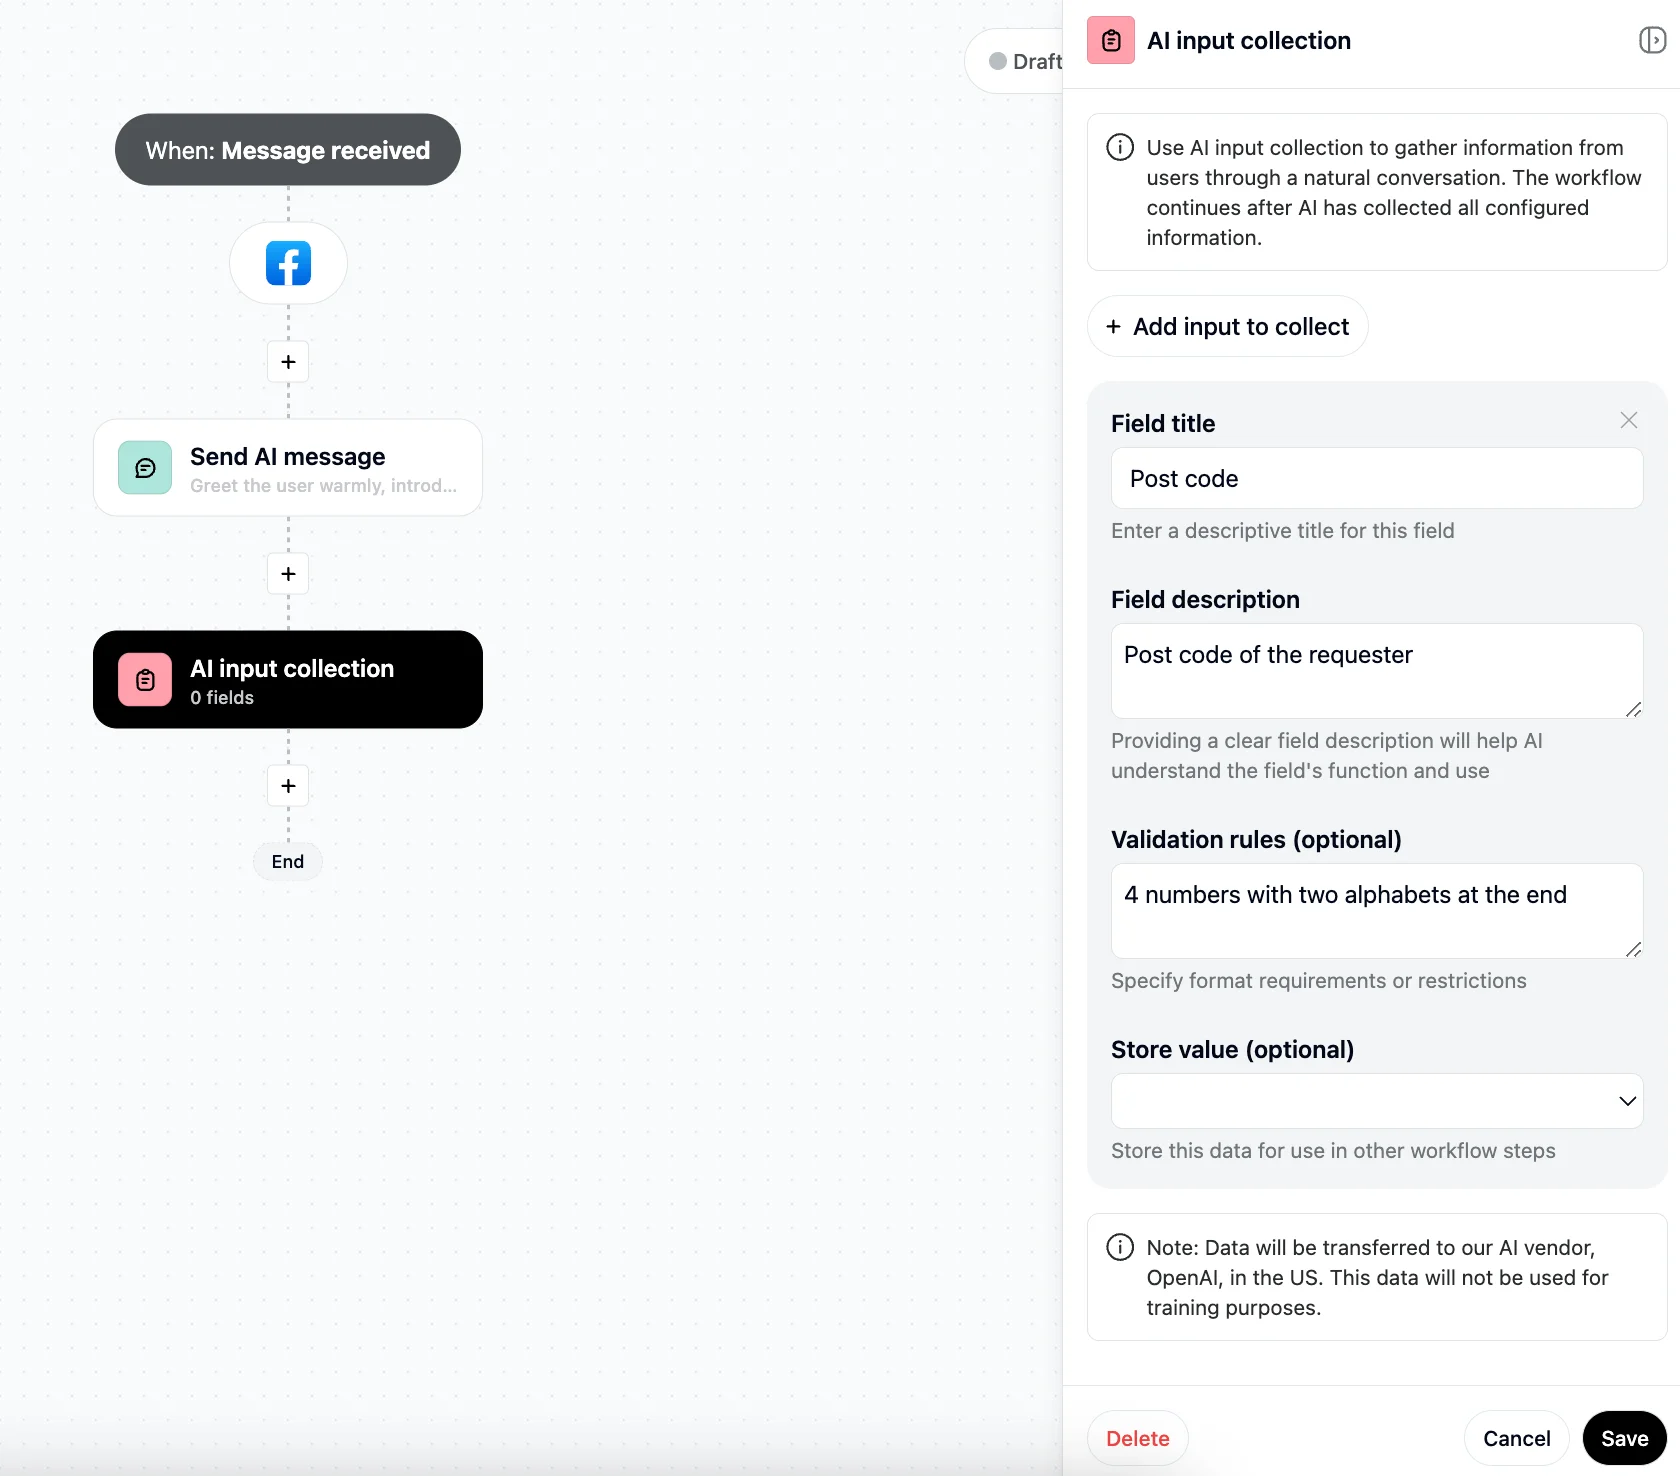
Per AI Input Collection - On average 15 seconds saved per question
AI input collection gathers information from users through a natural conversation.
Without AI input collection, an agent needs to discover which missing information should be retrieved and should be asked for, or to collect more information to identify the lead. They may also need to translate the message into other languages before crafting and sending an accurate response back.
Condition - On average 15 seconds
Conditions are criteria's that needs to match in order to direct the chatter towards the right path in the journey.
Without conditions, an agent needs to check if the conditions from the chat are true or not.
Label - On average 10 seconds
Labels help you to categorise and filter conversations.
Without labels, an agent needs to click on the labels, identify and select the label that applies to the conversion between a bigger list of multiple labels.
Assign to team - On average 10 seconds
It assigns the conversation to the right team.
Without this, an agent needs to click on teams, identify and select the team that needs to take care of the right team.
Assign to user - On average 10 seconds
It assigns the conversation to the right agent (user).
Without this, an agent needs to click on teams, identify and select the team that needs to take care of the right team.
Assign Round Robin - On average 15 seconds
Round Robin evenly distributes incoming conversations, to ensure a balanced workload across all team members.
Without Round Robin, an agent needs to monitor every team member's capacity. Checking if they are online/offline at all times and decide to who will be the new owner of handling the incoming conversation.
Close ticket - On average 5 seconds
It closes the ticket.
Without having this automated, an agent needs to check if the conversation has been wrapped up and can be closed.
Jump to step - On average 5 seconds
This action allows you to jump to a specific step in the journey.
Without it, an agent needs to understand that the incoming question should be forwarded to the right team or agent based of the question or new information which arrived in the conversation.
HTTP Action - On average 2 minutes
Use HTTP actions to send data to external services or APIs. The response from the HTTP action can be used in the next steps of the journey.
Without it, an agent needs check the collected data in an external system. Often it is already logged in, uses the search of the right order/booking information and check's the details of the order/booking and based on the gathered information, writes a message back to the customer based of the status.
AI CSAT - On average 20 seconds
CSAT allows you to ask how the customer has perceived the help during the conversation.
Without AI CSAT, an agent needs to paste in a pre-defined message into the editor and submits it. After the response got back in, they need to manually store it in a sheet or list to analyse it and keep the overview.
Contact to group - On average 10 seconds
Add or remove contacts from designated groups based on specific goals, keeping lists targeted and up-to-date.
Agents need to assess each contact's eligibility before manually adding or removing them from groups.
WhatsApp template - On average 40 seconds
Send targeted WhatsApp messages using predefined templates tailored to customer details, ensuring timely and personalised communication.
Agents must search for the appropriate template, add specific customer information, and send it back to the customer. For system-triggered actions (e.g., booking or order confirmations), agents manually locate and personalise the correct template for each interaction.
Wait - no real-time saving
Introduce a controlled delay within the Journey, pausing for a specified time before proceeding to the next step.
Agents naturally experience pauses as they manage multiple customer interactions simultaneously, resulting in “waiting” between tasks.
Media - On average 30 seconds
Send media back to the sender in the ticket.
Agents naturally find the correct media on their computer and then selecting or dragging the right media to the conversation.
Log contact moment in CRM - On average 60 seconds
Log contact moment in the CRM sytems like Close.io, HubSpot, Pipedrive, Microsoft Dynamics, Salesforce, Zoho and push ticket information and ticket URLs into the CRM system.
Without this action, agents must search themselves in an external CRM system based on names, emails or phone numbers and log the right information afterwards.


.webp)


