


With Trengo's Integration Hub, connecting your Shopify account to your Trengo Inbox is a breeze. Please ensure you are an Admin in both Trengo and Shopify before proceeding. Please note that our integration also supports Shopify Plus.
This is a multi-step process.
Steps to take within Shopify
1. Log in to your Shopify account.

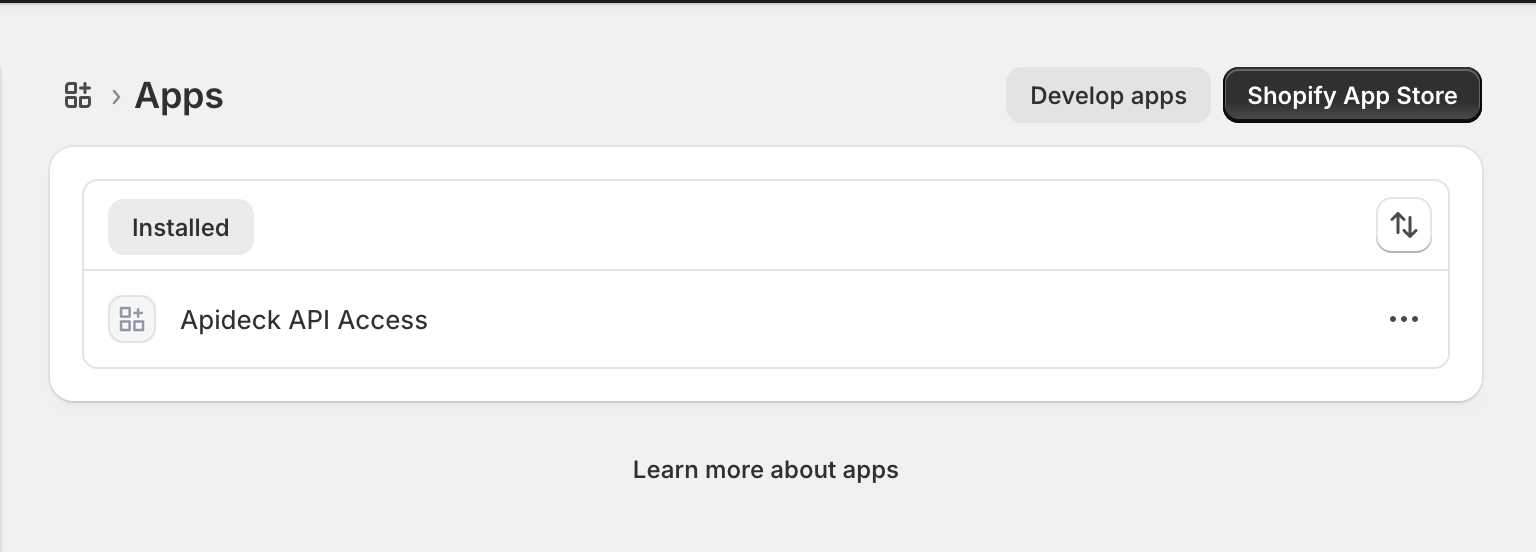
2. From the left navigation, click on the "Apps" and click on "App Settings" or click on "Settings" > "Apps".
3. Click on the "Develop apps" option at the top right section of the page.
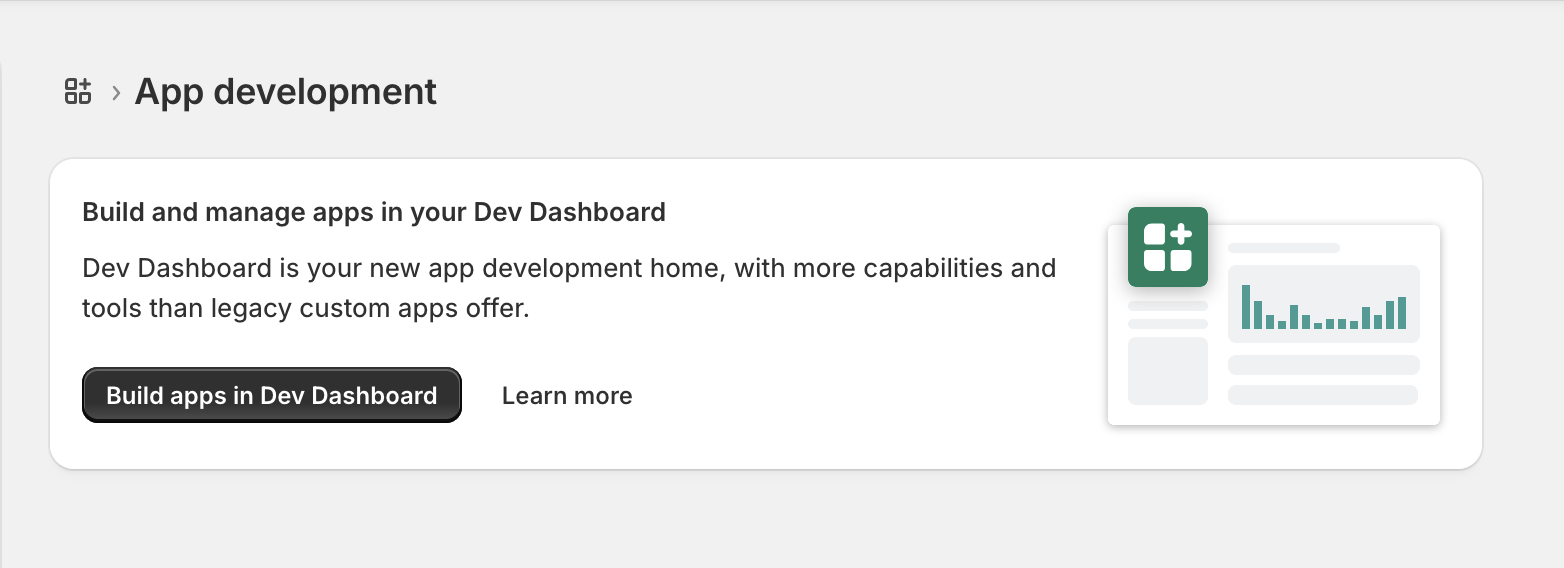
4. Click on the "Develop" option to navigate to the Shopify Dev Dashboard.
Create a new development App
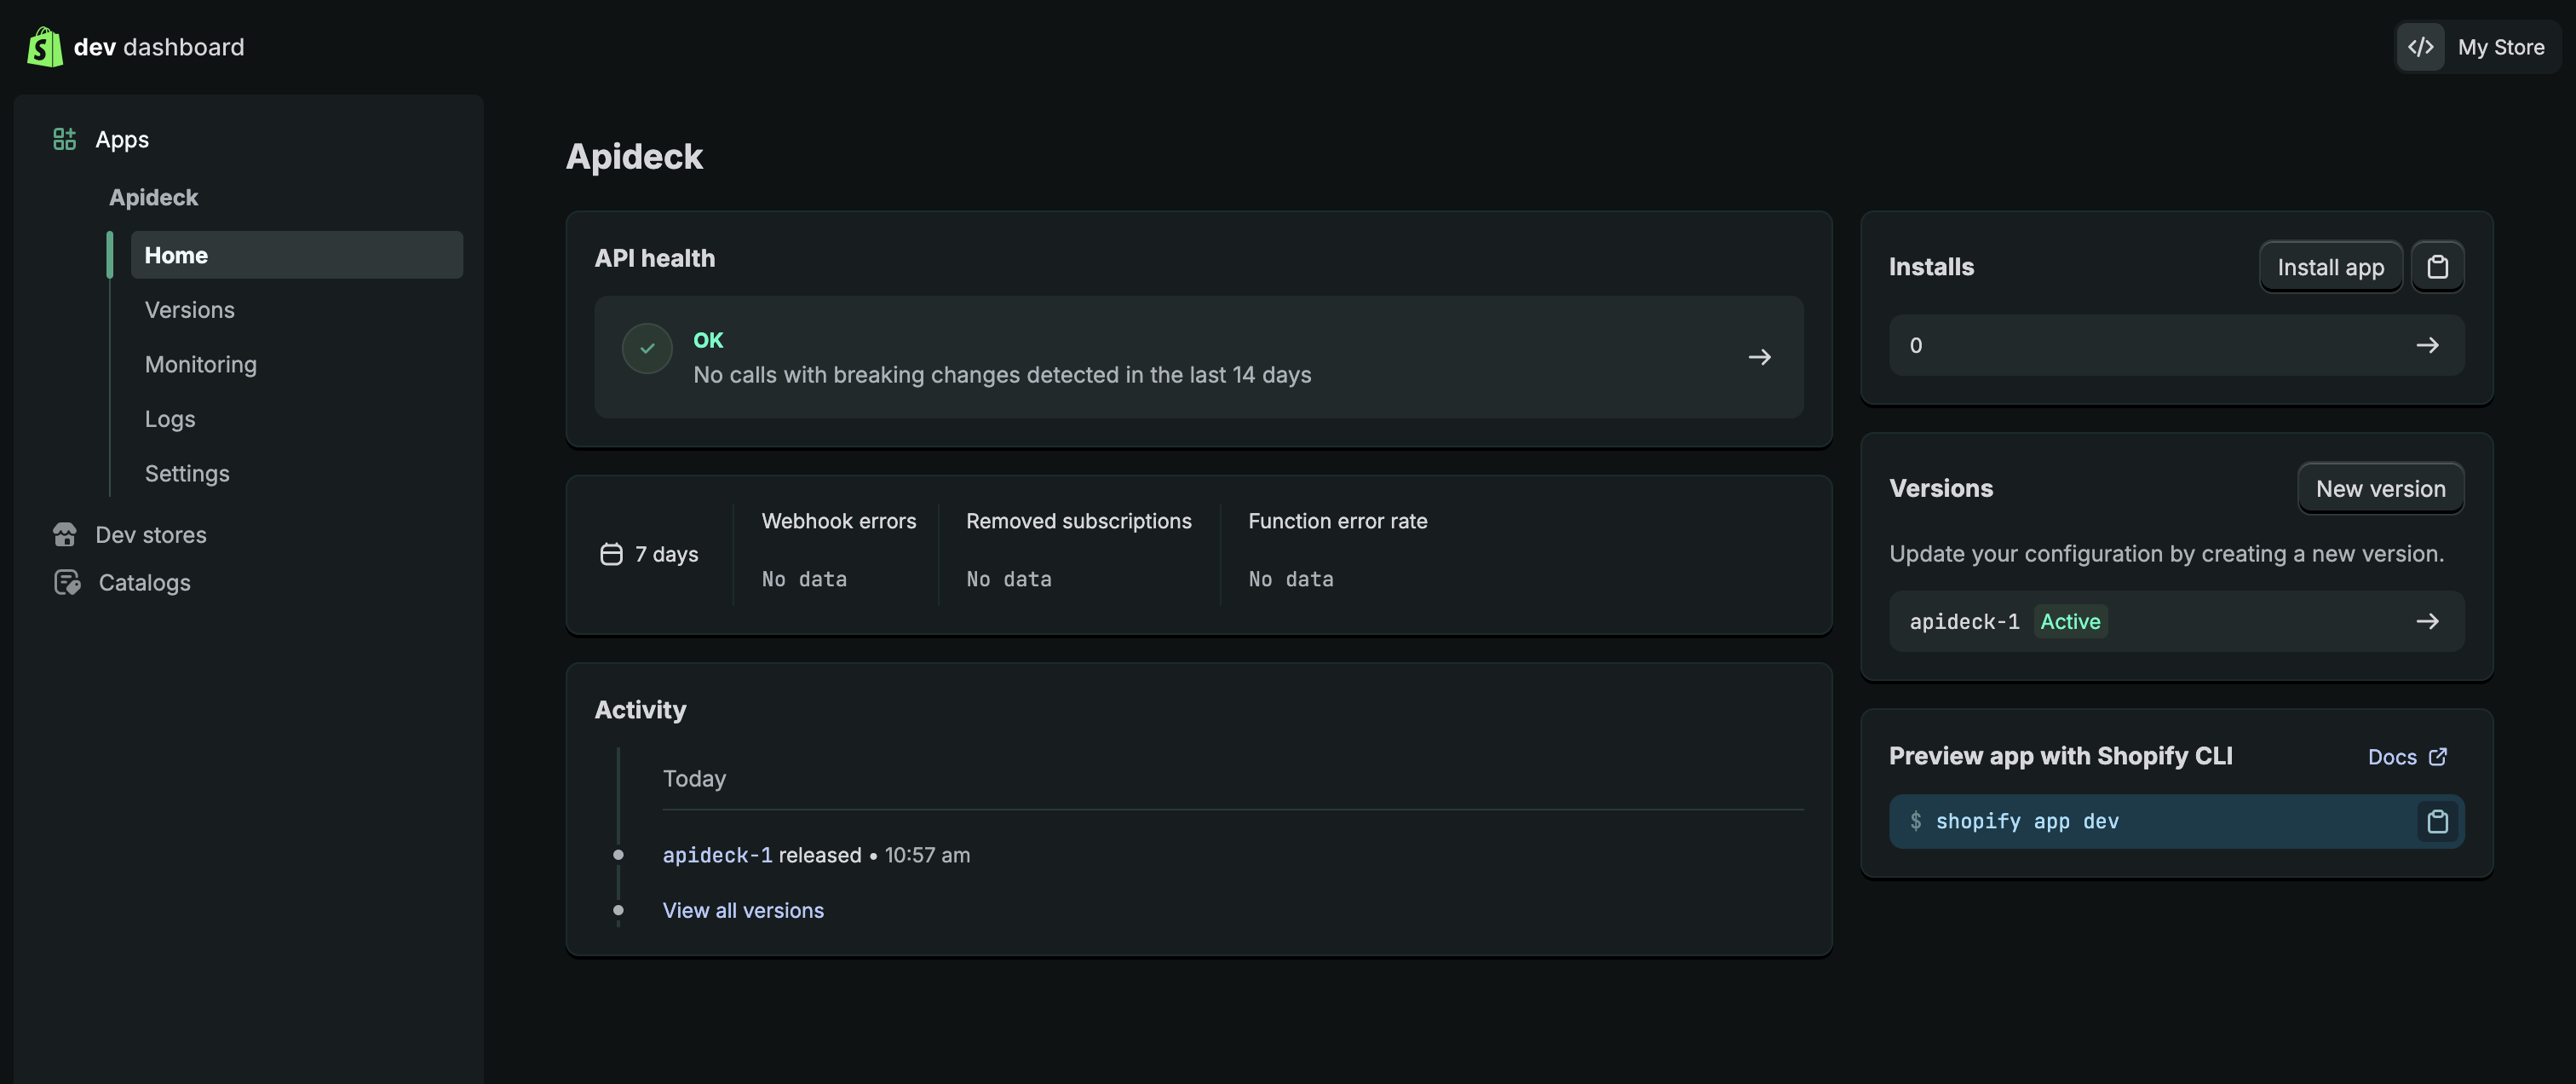
5. You are now redirected to the Shopify Dev Dashboard.
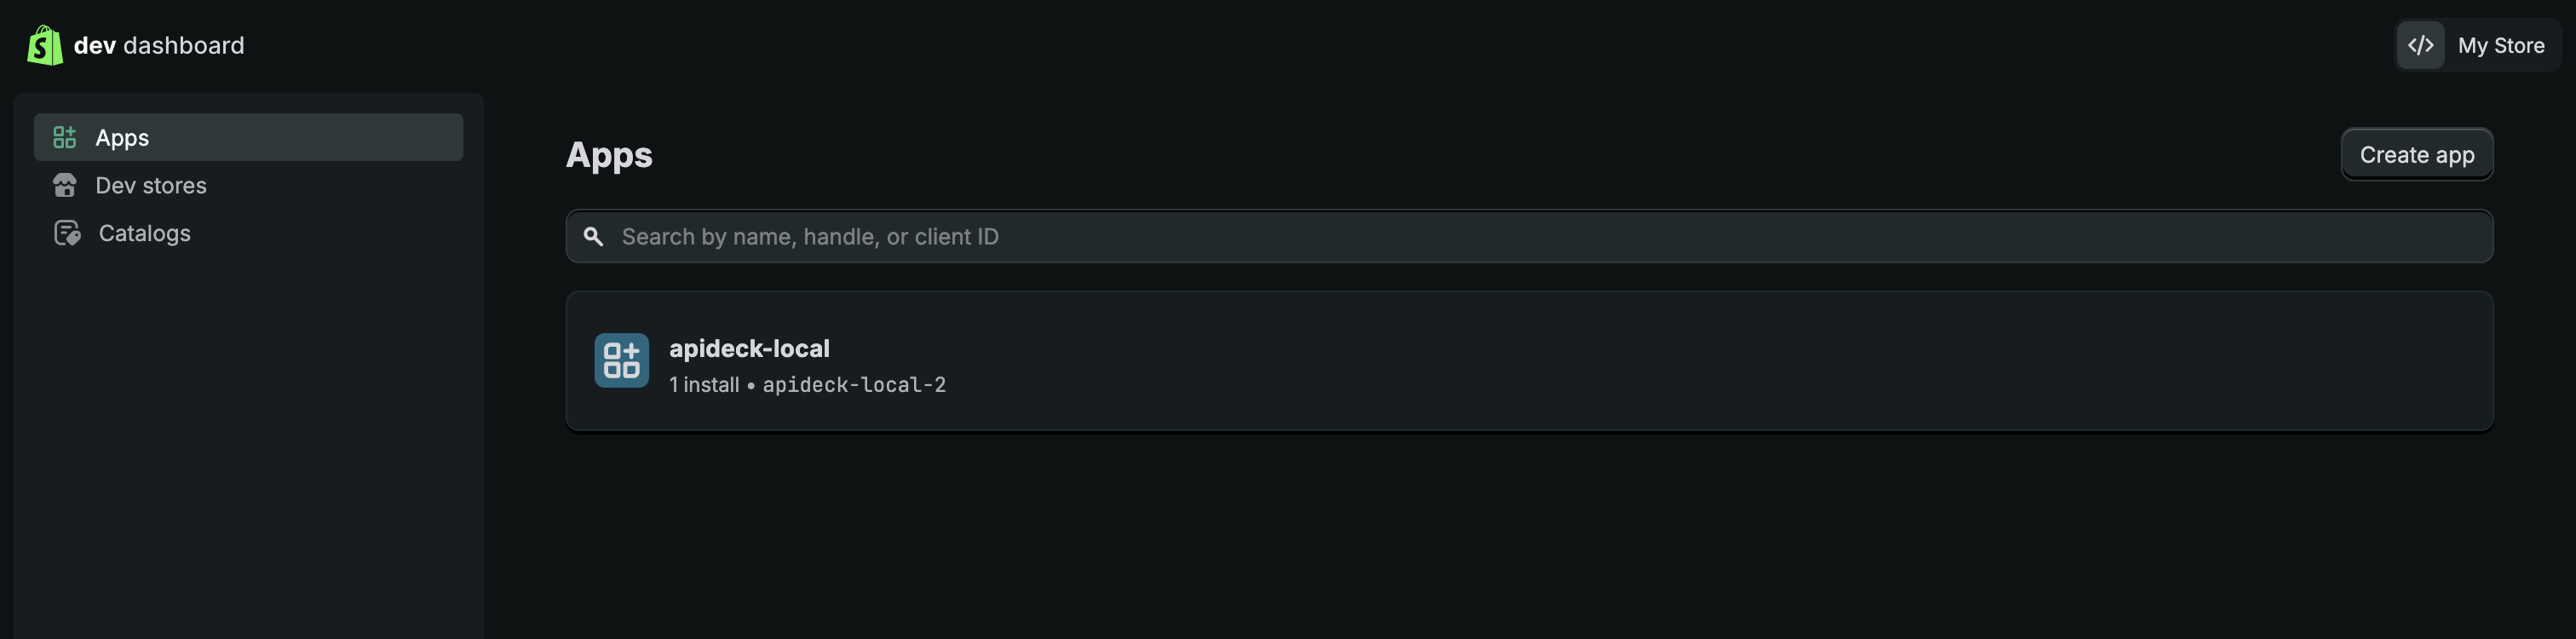
6. Click on the "Create app" button and enter your app name.
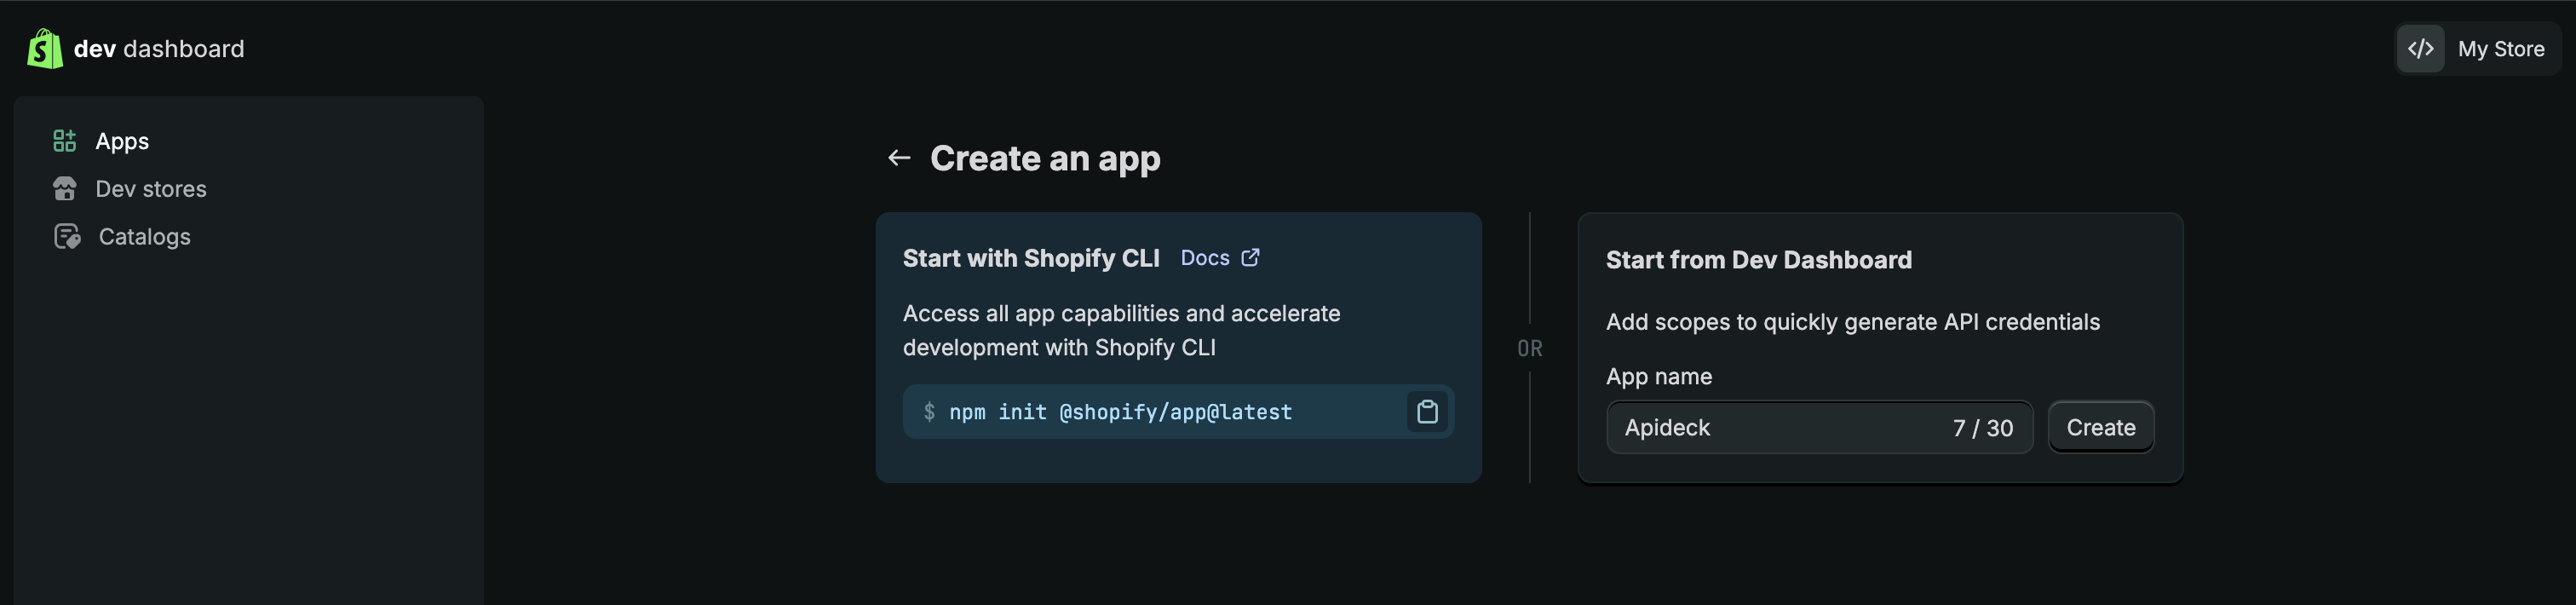
7. After creating the app, you will be redirected to the app versions page.
Configure Admin API scopes
To access the data from your Shopify account, you need to configure the Admin API scopes.
8. Click on the "Select scopes" button to configure the Admin API scopes or directly enter scopes as a comma-separated list.
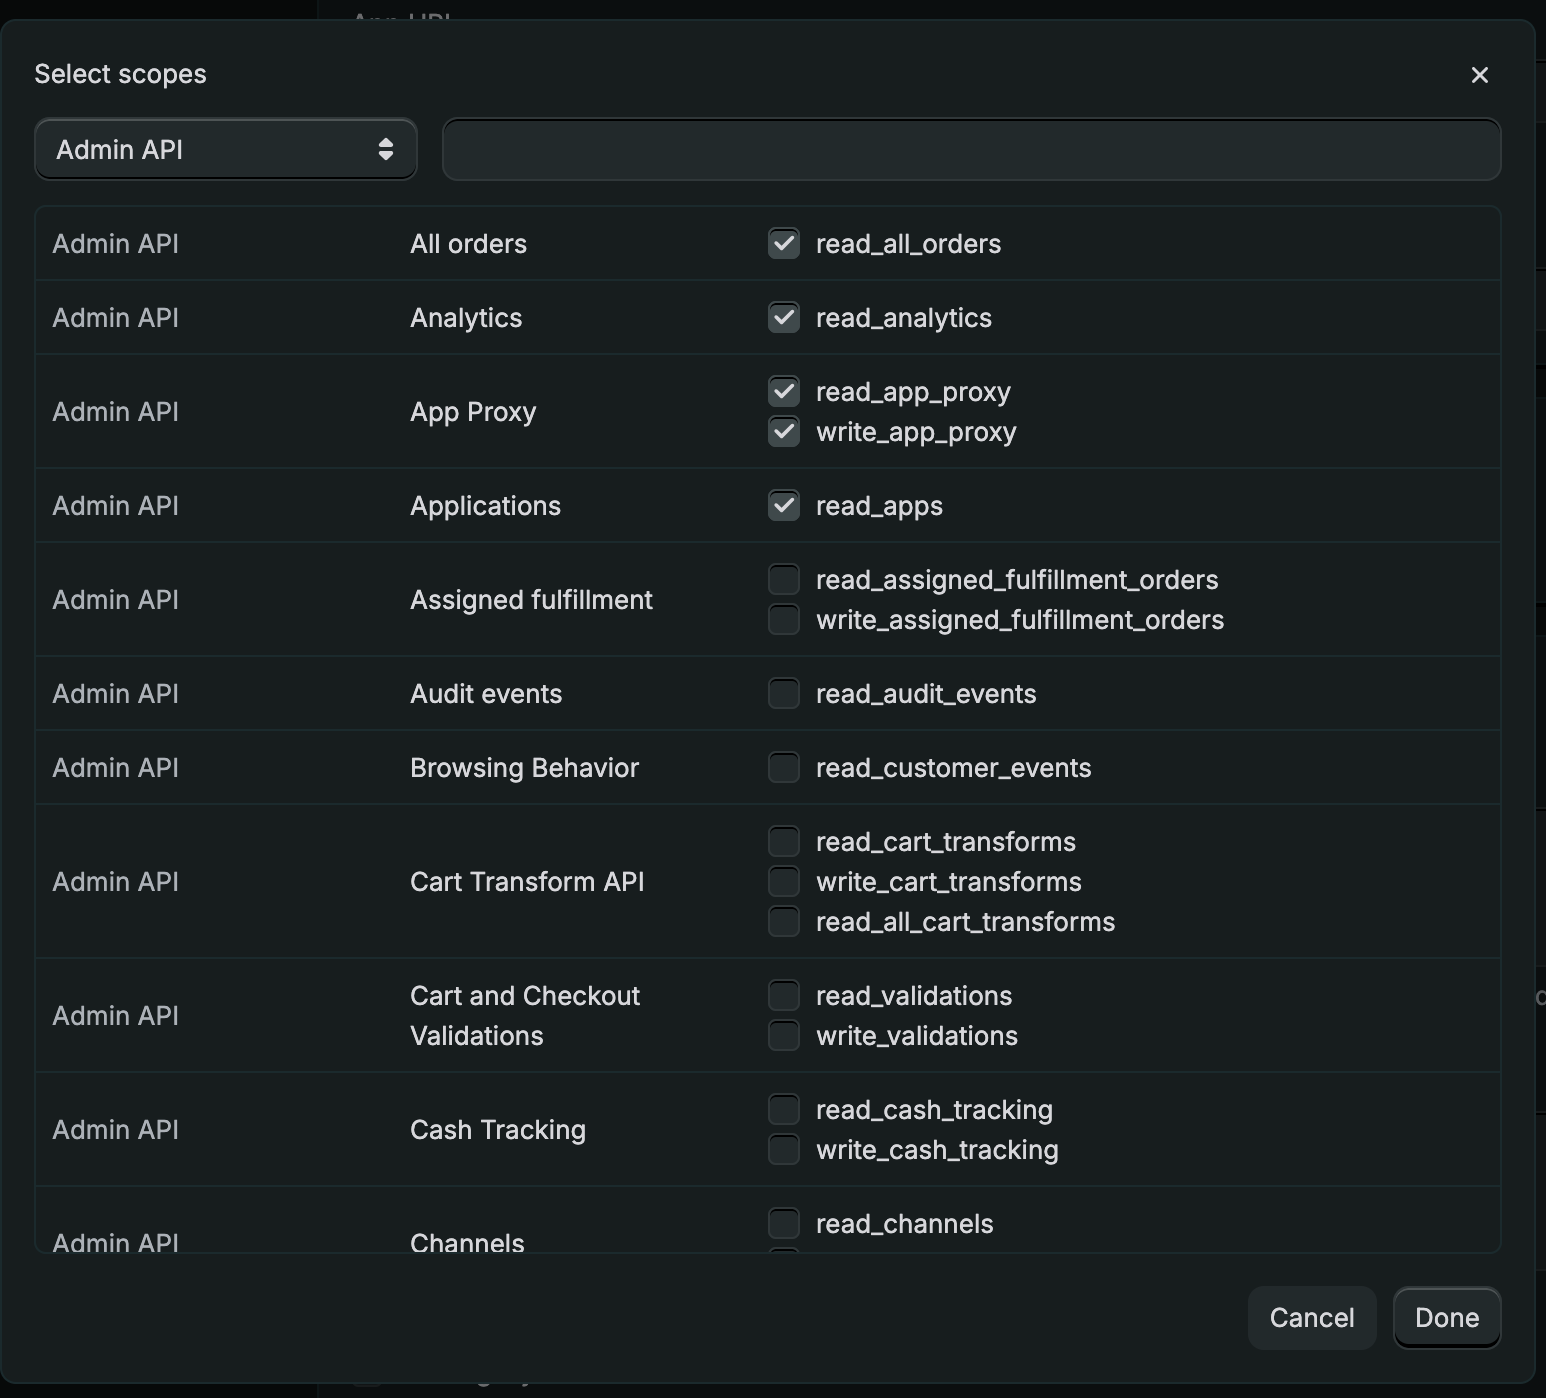
9. For the Shopify integration, you need to select the following scopes to allow the integration to read the data from your Shopify account. Shopify has a lot of scopes, so by using the search input, you can easily enable the required scopes.
Suggested scopes for reading data from your Shopify account:
- read_assigned_fulfillment_orders
- read_customers
- read_customer_merge
- read_discounts
- read_draft_orders
- read_fulfillments
- read_fulfillment_constraint_rules
- read_gift_cards
- read_inventory
- read_online_store_pages
- read_locations
- read_merchant_managed_fulfillment_orders
- read_metaobjects
- read_orders
- read_payment_terms
- read_price_rules
- read_product_listings
- read_products
- read_purchase_options
- read_returns
- read_shipping
- read_locales
10. Once you have selected the required scopes, click on the "Done" button to save the configuration.
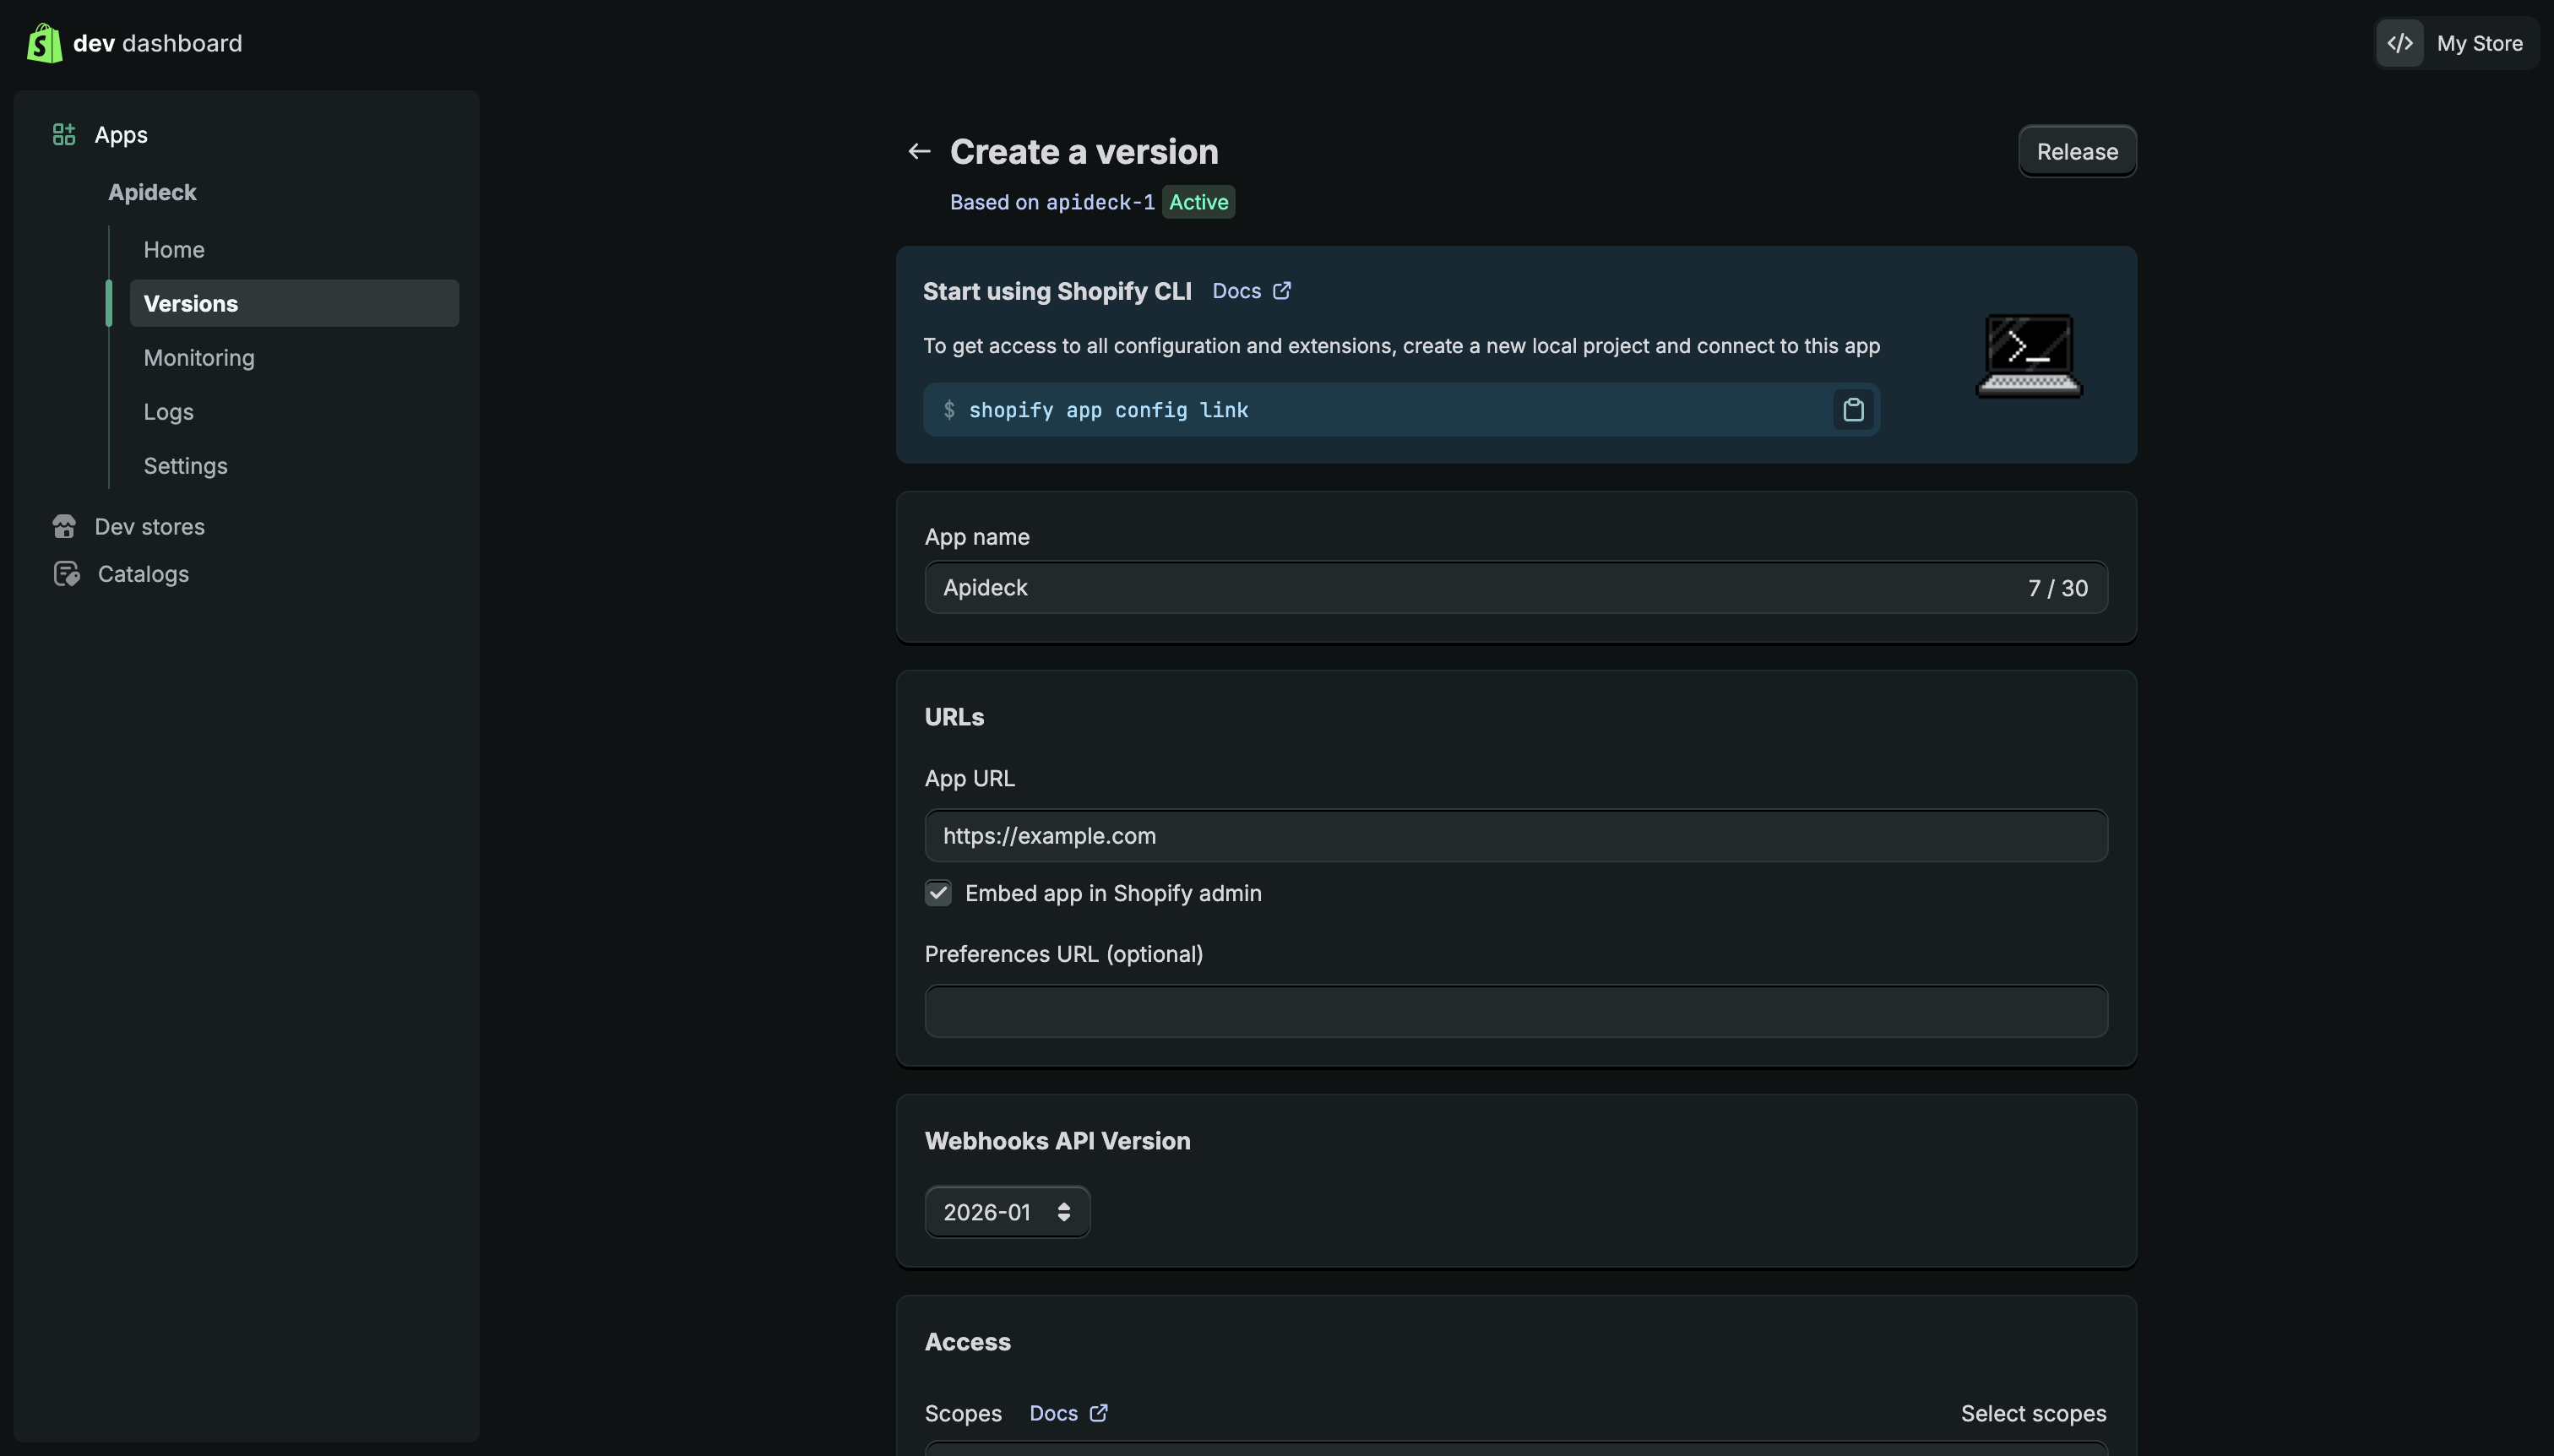
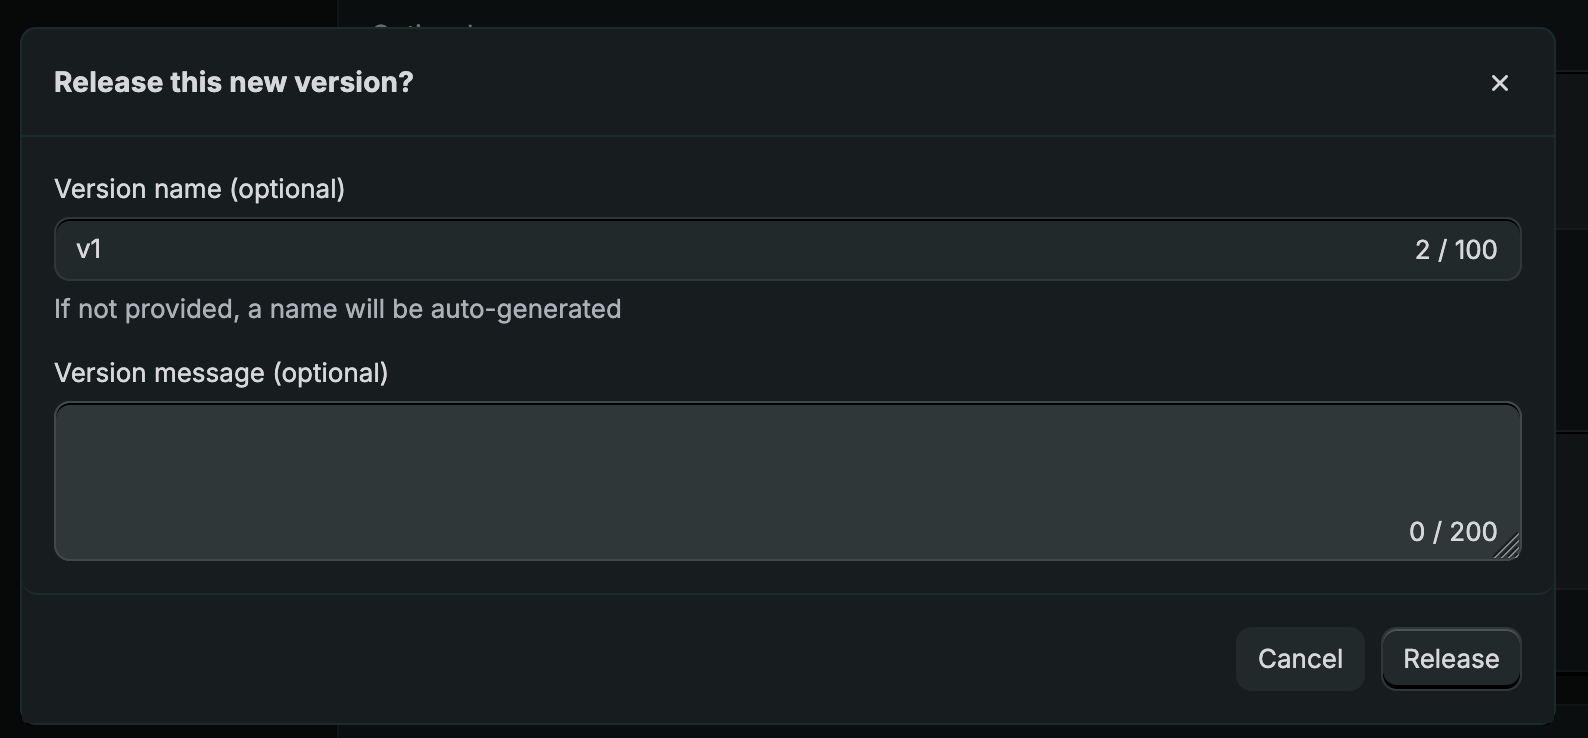
11. Click on "Release" on the versions page. You can provide a version name and message, then release the app.
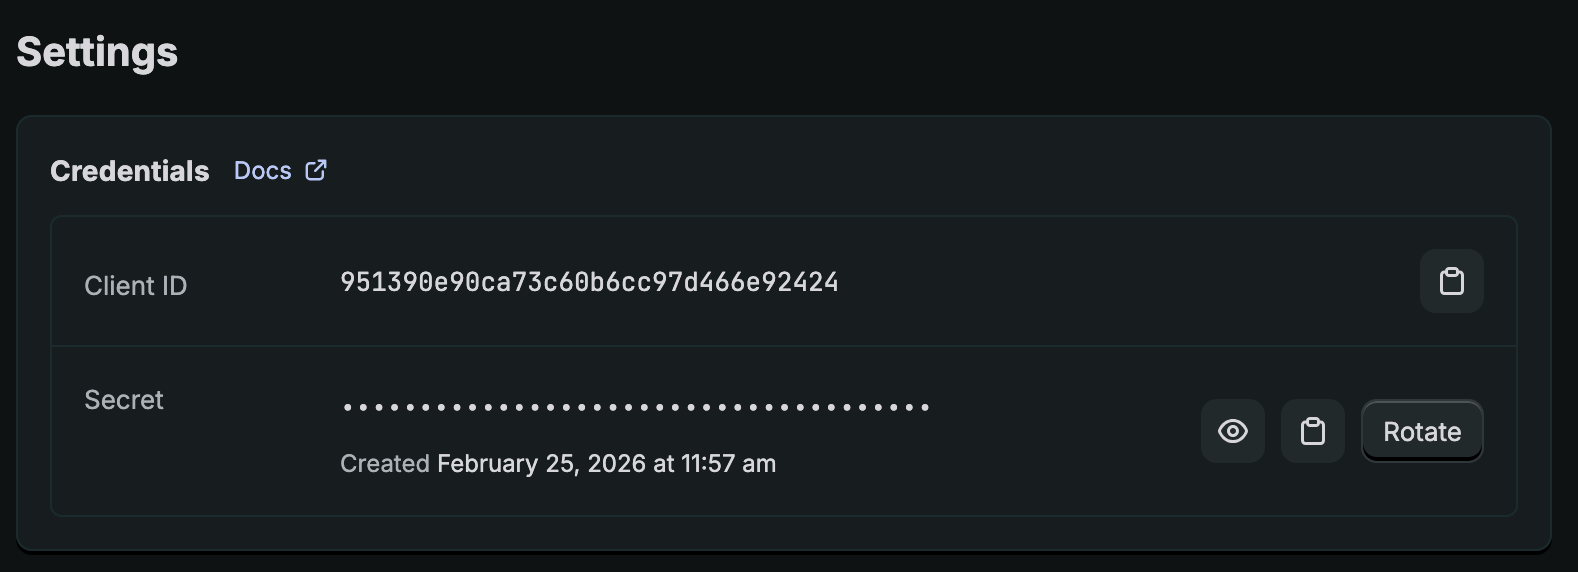
Retrieve the Client Credentials and Install App
12. Navigate to the "Settings" section to retrieve client credentials.
13. Navigate to the "Home" section to install app, click on the "Install app" button to install the app.
14. After this step, you will be redirected to Shopify to install the app in your store by clicking on "Install".
Steps to take within Trengo
Finally! We know it's a long one, but these steps are crucial to ensuring Shopify works within the Trengo environment.
1. Navigate to Trengo Settings, then select 'Settings', followed by 'Integrations'.
2. Select 'E-commerce', then click the 'Shopify' card to open the description interface.
3. Click 'Install Integration' in the top right corner to open the installation modal.

4. Enter your shop name. Note that this is usually the first part of the URL in your shop domain as the prefix https:// and the suffix .myshopify.com are added automatically.
Your Shopify account is now connected 🚀