


Met Trengo's Integration Hub is het verbinden van je Shopify account met je Trengo Inbox een fluitje van een cent. Zorg ervoor dat je een Admin bent in zowel Trengo als Shopify voordat je verder gaat. Houd er rekening mee dat onze integratie ook Shopify Plus ondersteunt.
Dit is een proces dat uit meerdere stappen bestaat.
Stappen die je binnen Shopify moet volgen
1. Log in op je Shopify-account.

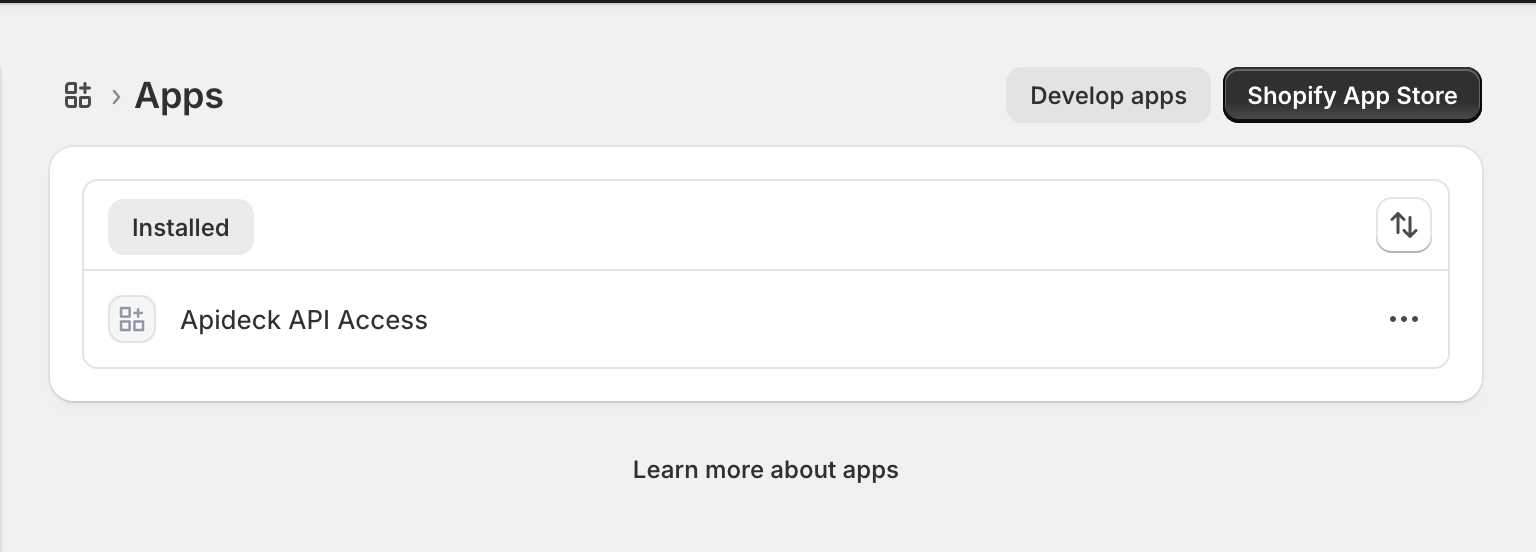
2. Klik in het navigatiemenu aan de linkerkant op 'Apps' en vervolgens op 'App-instellingen', of klik op 'Instellingen' > 'Apps'.
3. Klik rechtsboven op de pagina op de optie "Apps ontwikkelen".
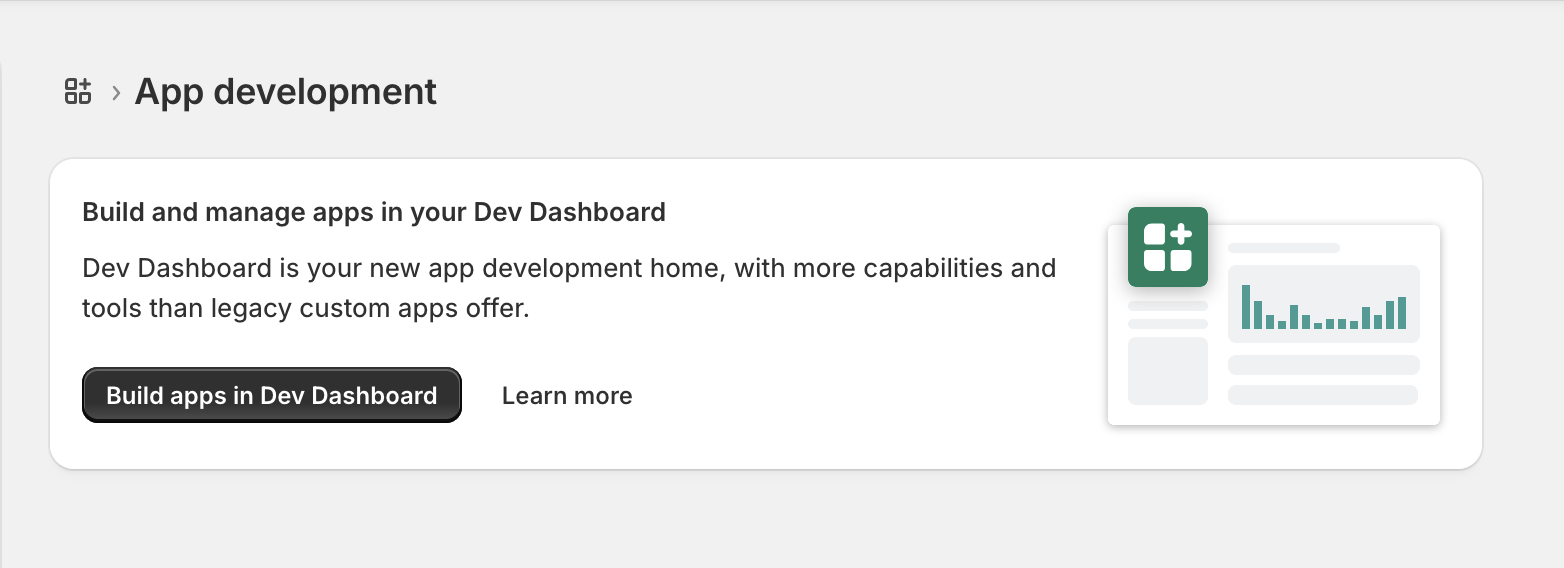
4. Klik op de optie 'Ontwikkelen' om naar het Shopify Dev Dashboard te gaan.
Maak een nieuwe ontwikkelings-app aan
5. Je wordt nu doorgestuurd naar het Shopify Dev Dashboard.
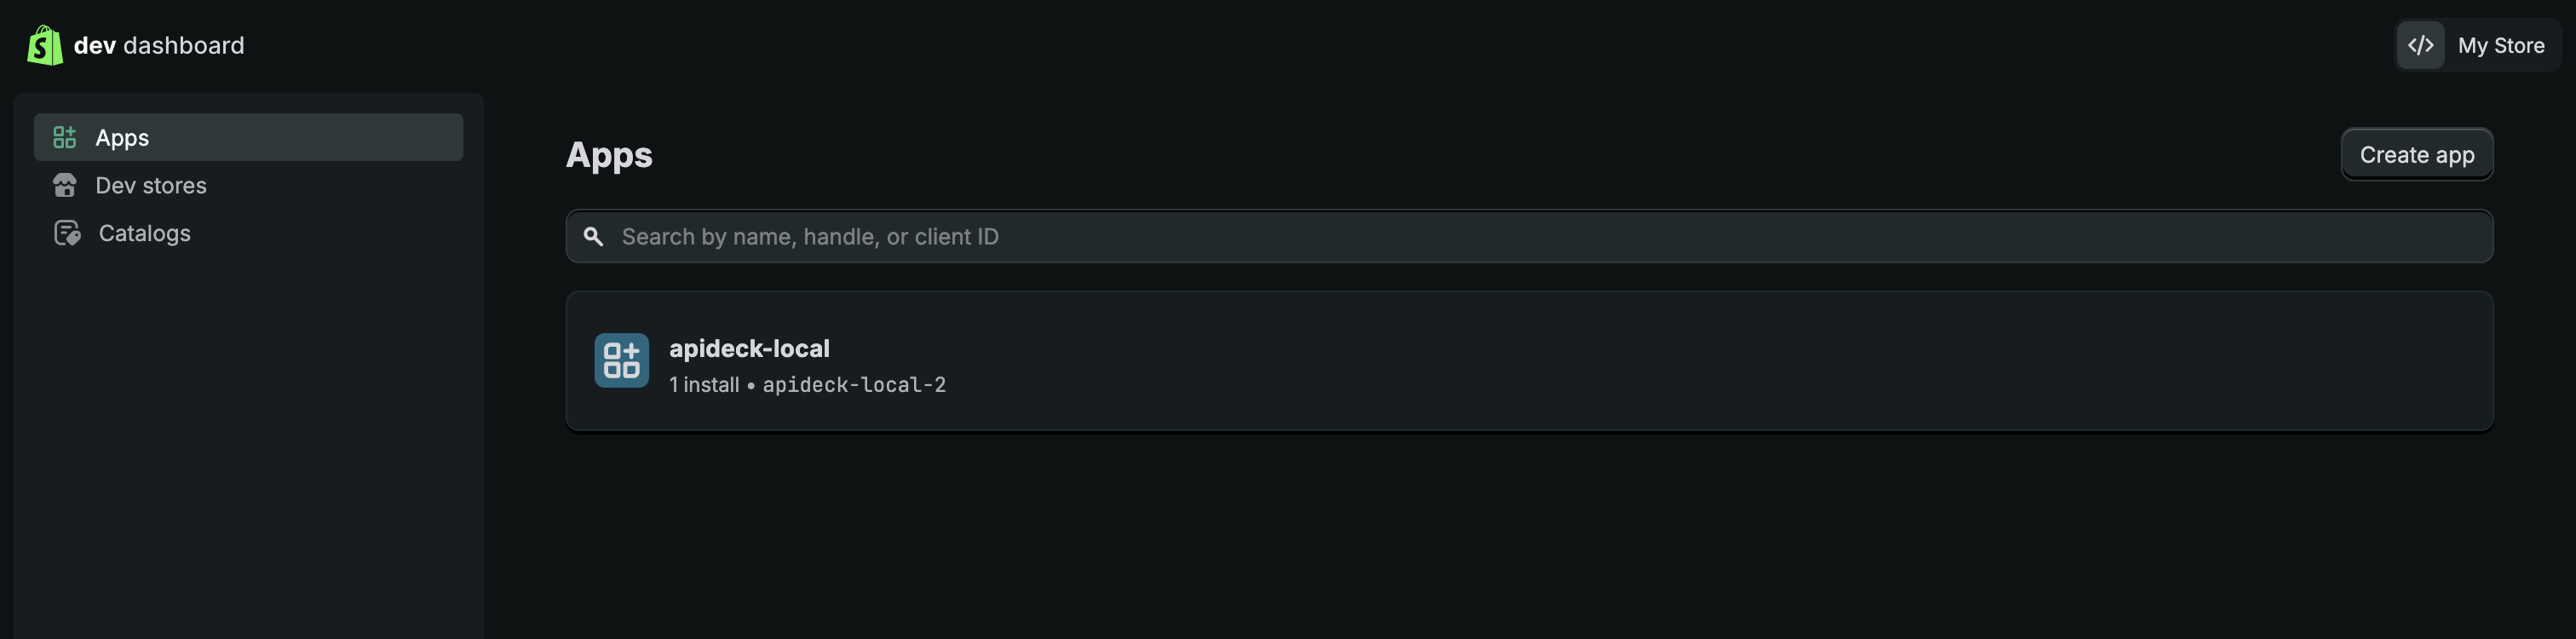
6. Klik op de knop 'App aanmaken' en voer de naam van je app in.
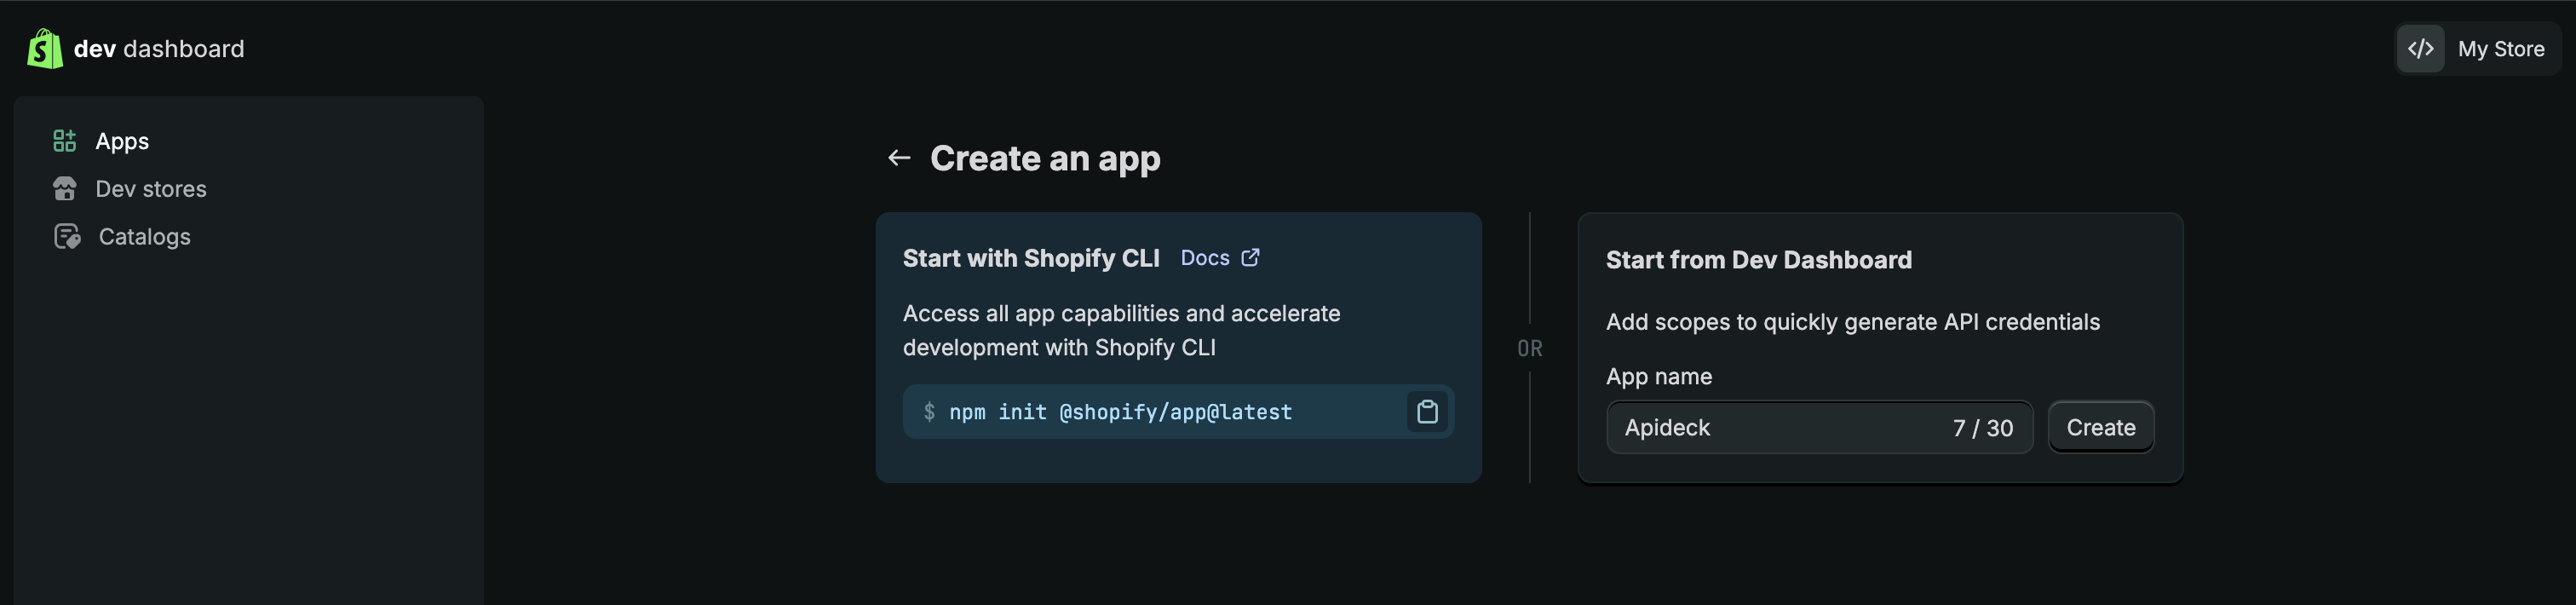
7. Nadat je de app hebt aangemaakt, word je doorgestuurd naar de pagina met app-versies.
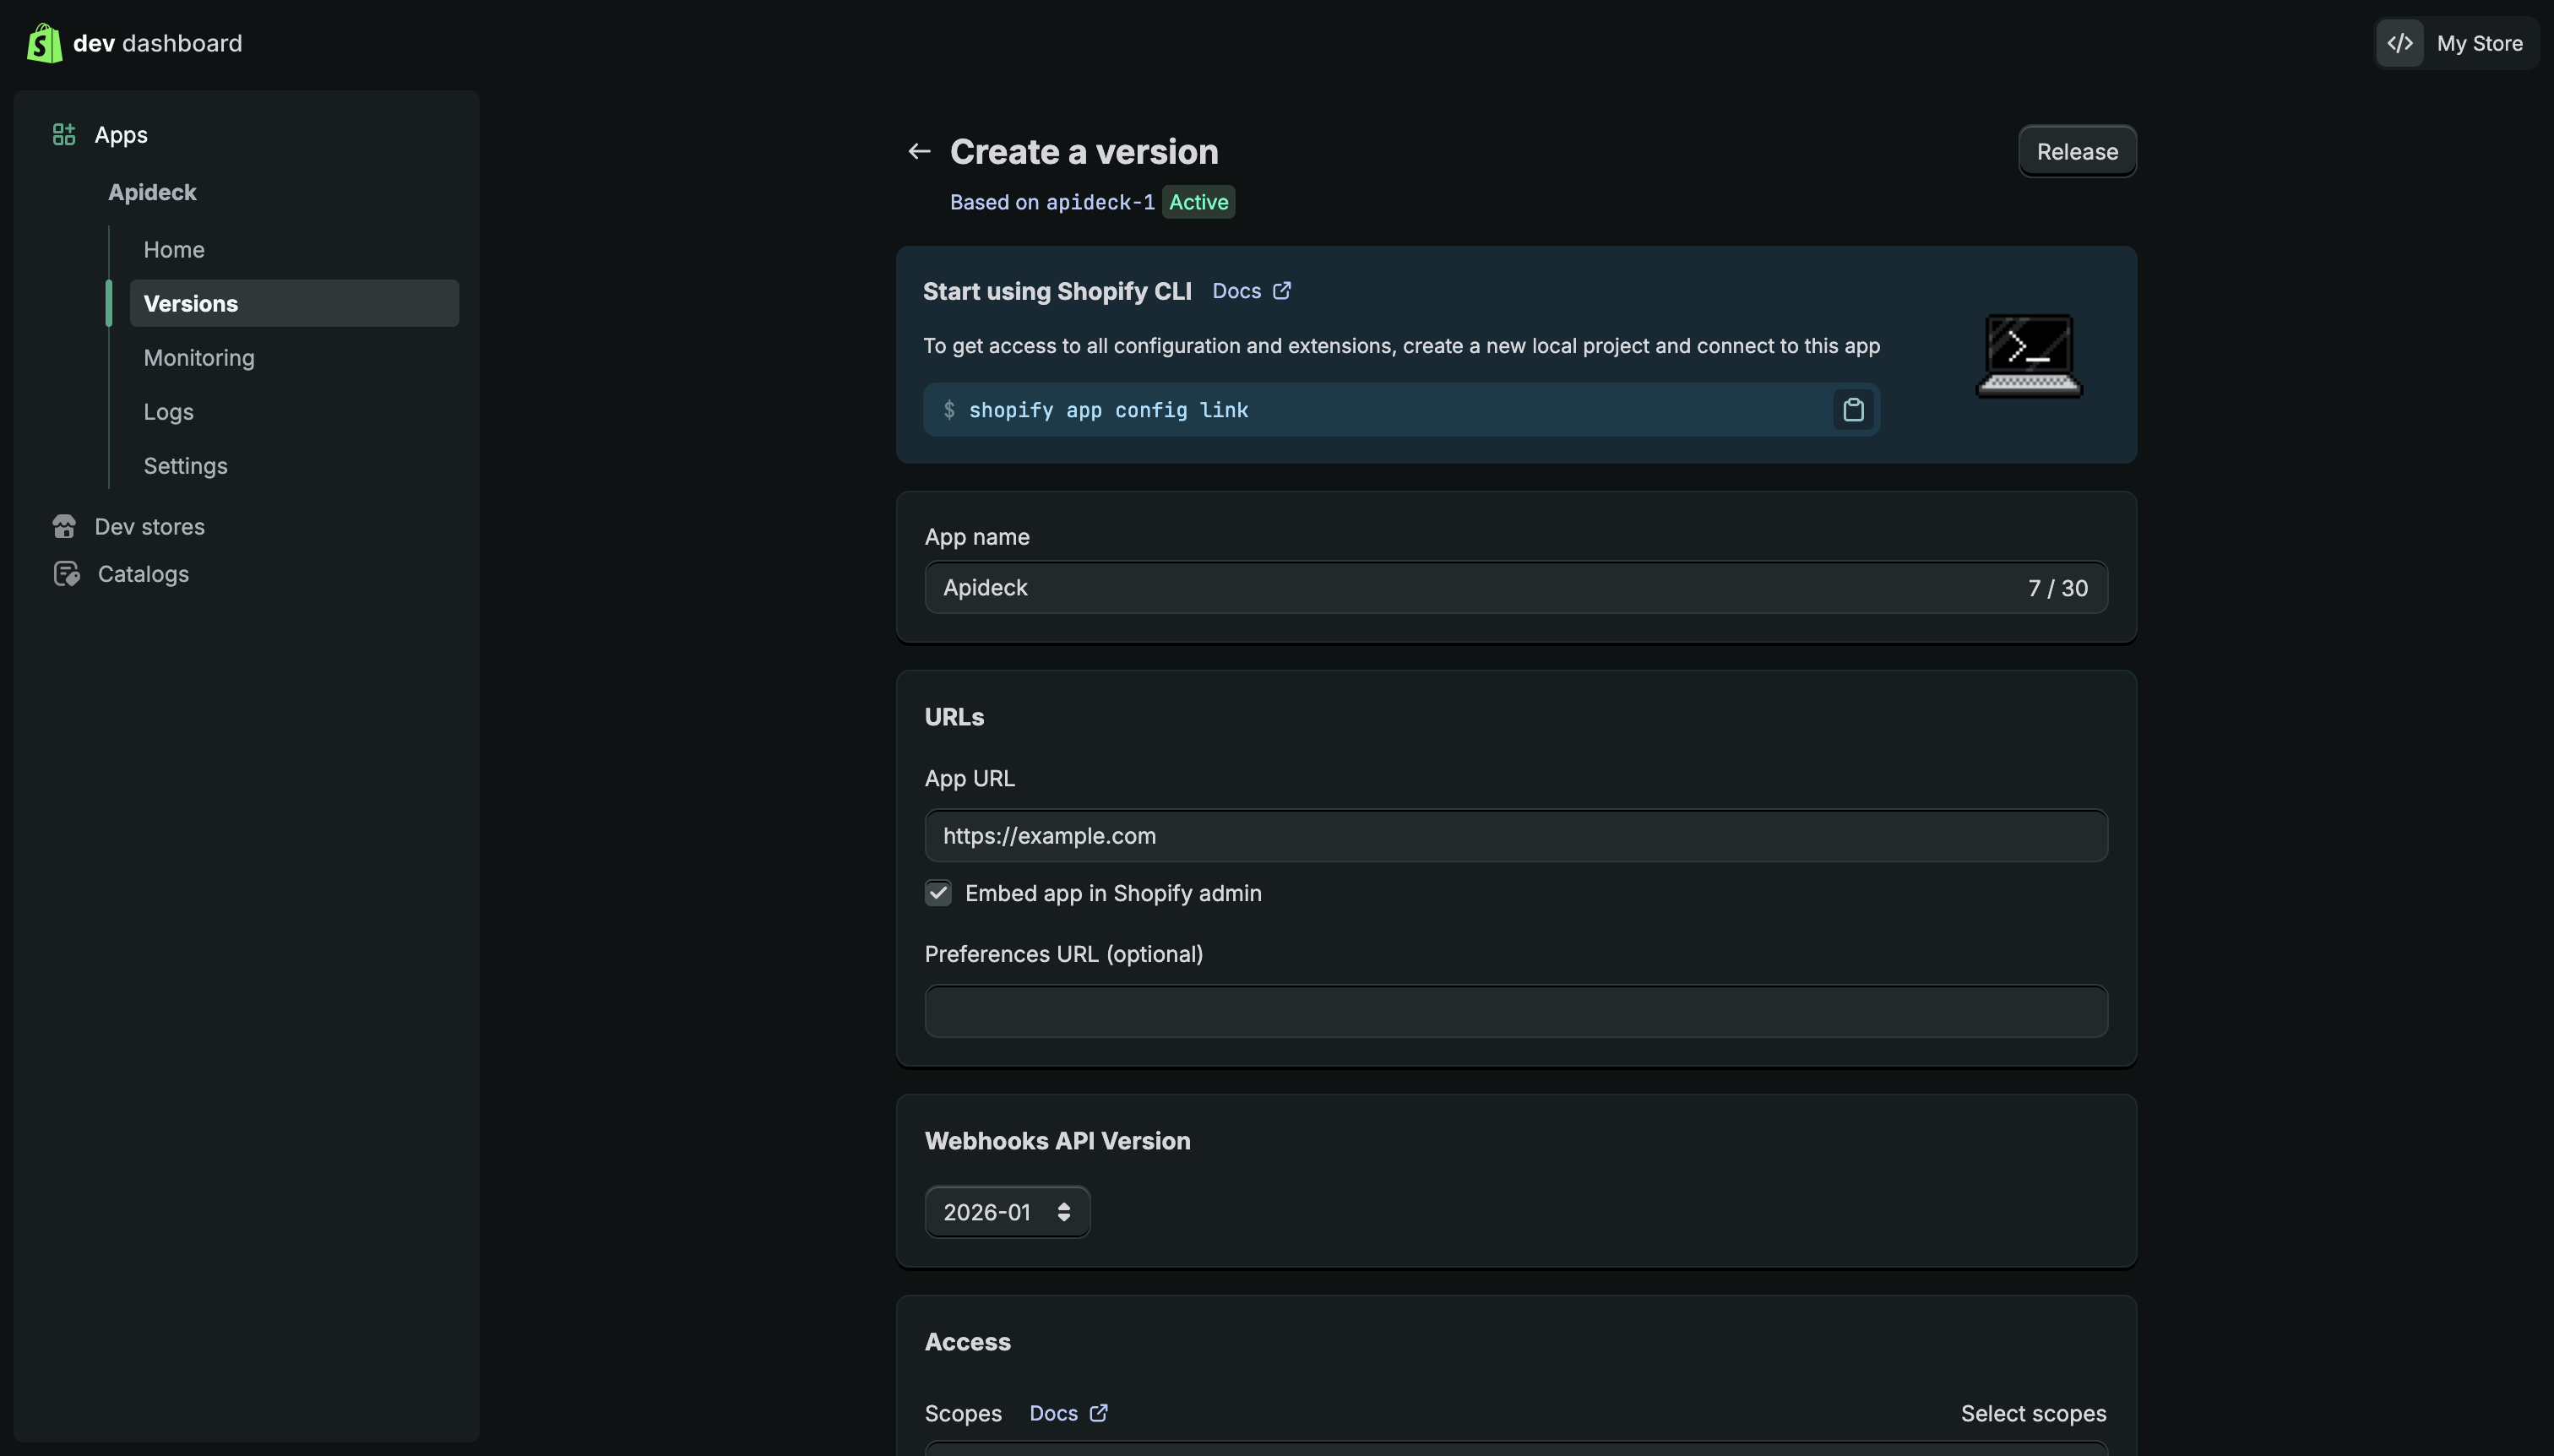
Beheer-API-bereiken configureren
Om toegang te krijgen tot de gegevens van je Shopify account, moet je de Admin API scopes configureren.
8. Klik op de knop "Scopes selecteren" om de Admin API-scopes te configureren, of voer de scopes rechtstreeks in als een door komma’s gescheiden lijst.
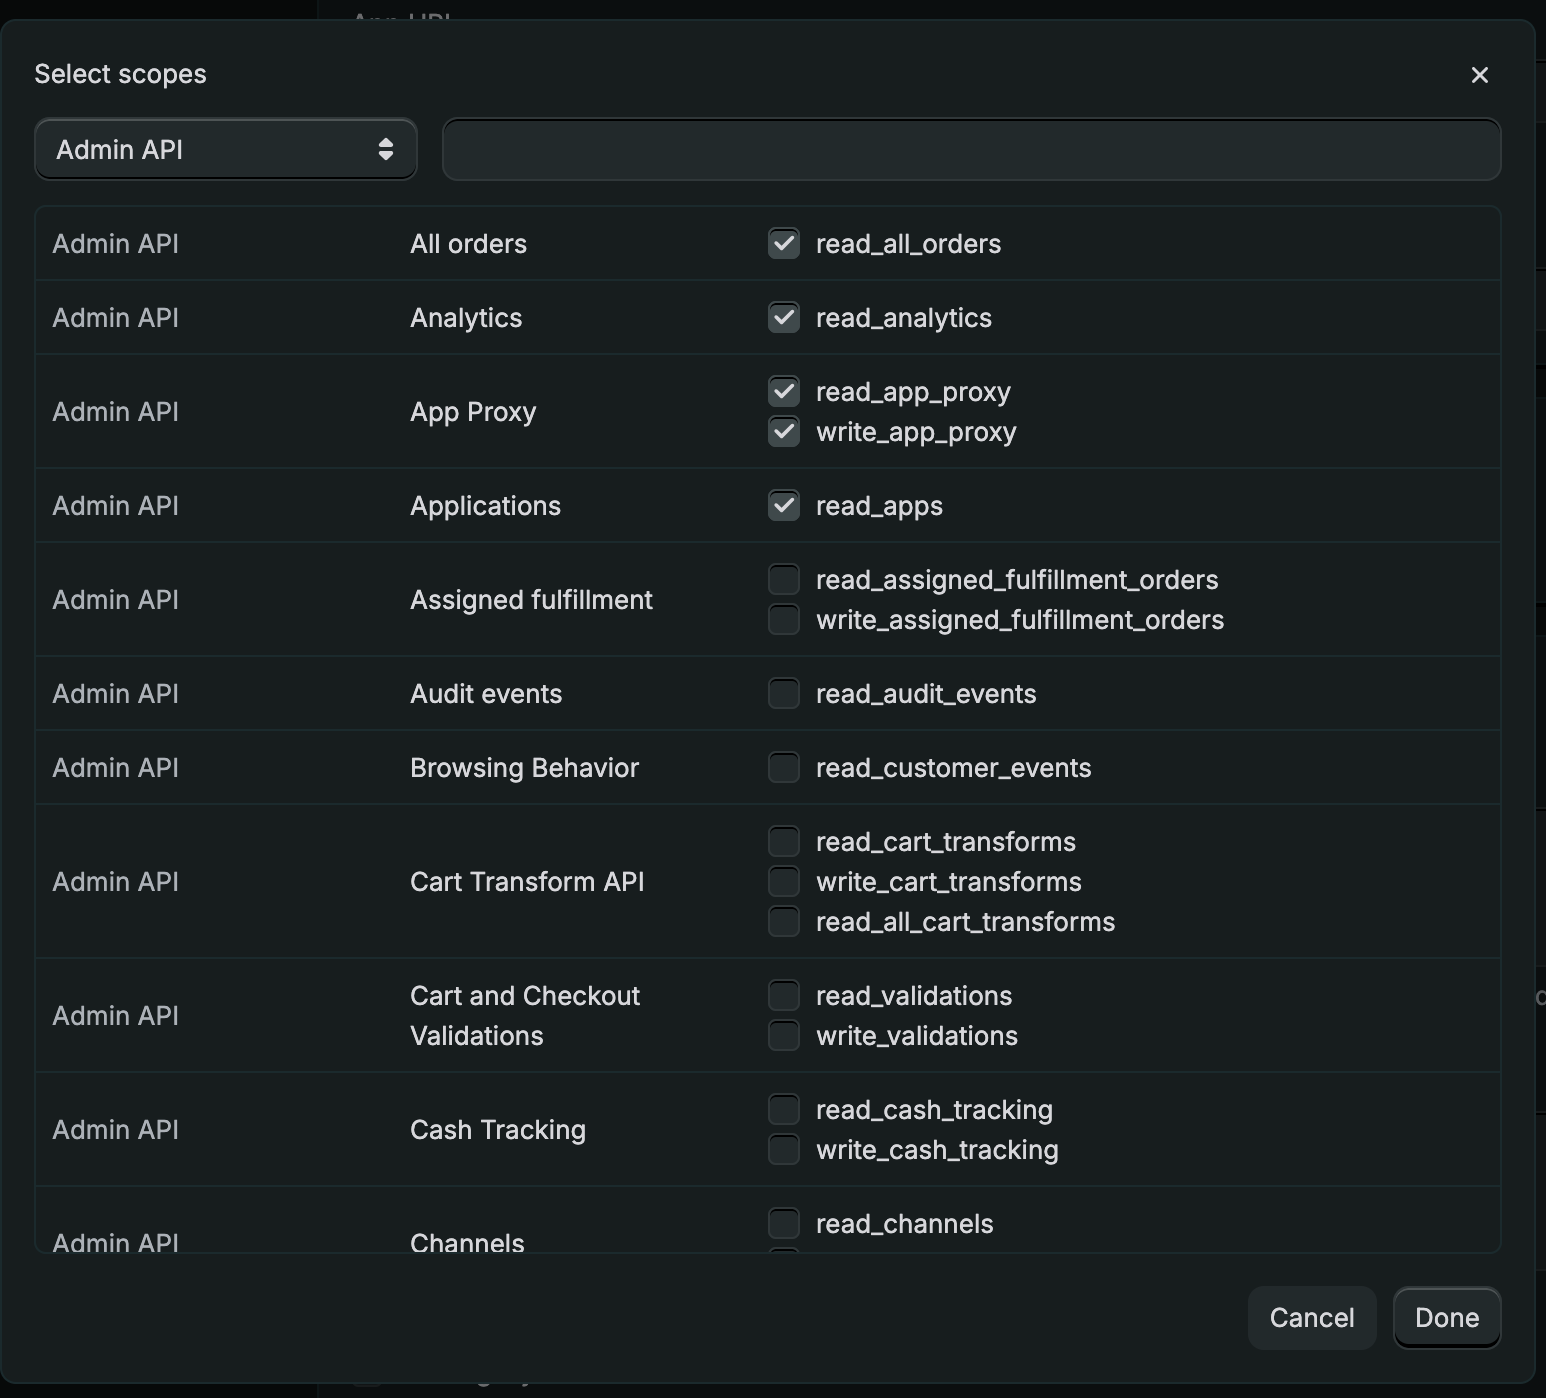
9. Voor de Shopify-integratie moet je de volgende scopes selecteren, zodat de integratie de gegevens uit je Shopify-account kan lezen. Shopify heeft veel scopes, dus door het zoekveld te gebruiken, kun je de benodigde scopes eenvoudig inschakelen.
Aanbevolen extensies voor het ophalen van gegevens uit je Shopify-account:
- read_assigned_fulfillment_orders
- read_customers
- read_customer_merge
- read_discounts
- read_draft_orders
- read_fulfillments
- read_fulfillment_constraint_rules
- read_gift_cards
- read_inventory
- read_online_store_pages
- read_locations
- read_merchant_managed_fulfillment_orders
- read_metaobjects
- read_orders
- read_payment_terms
- read_price_rules
- read_product_listings
- read_products
- read_purchase_options
- read_returns
- read_shipping
- read_locales
10. Nadat u de gewenste scopes hebt geselecteerd, klikt u op de knop "Gereed" om de configuratie op te slaan.
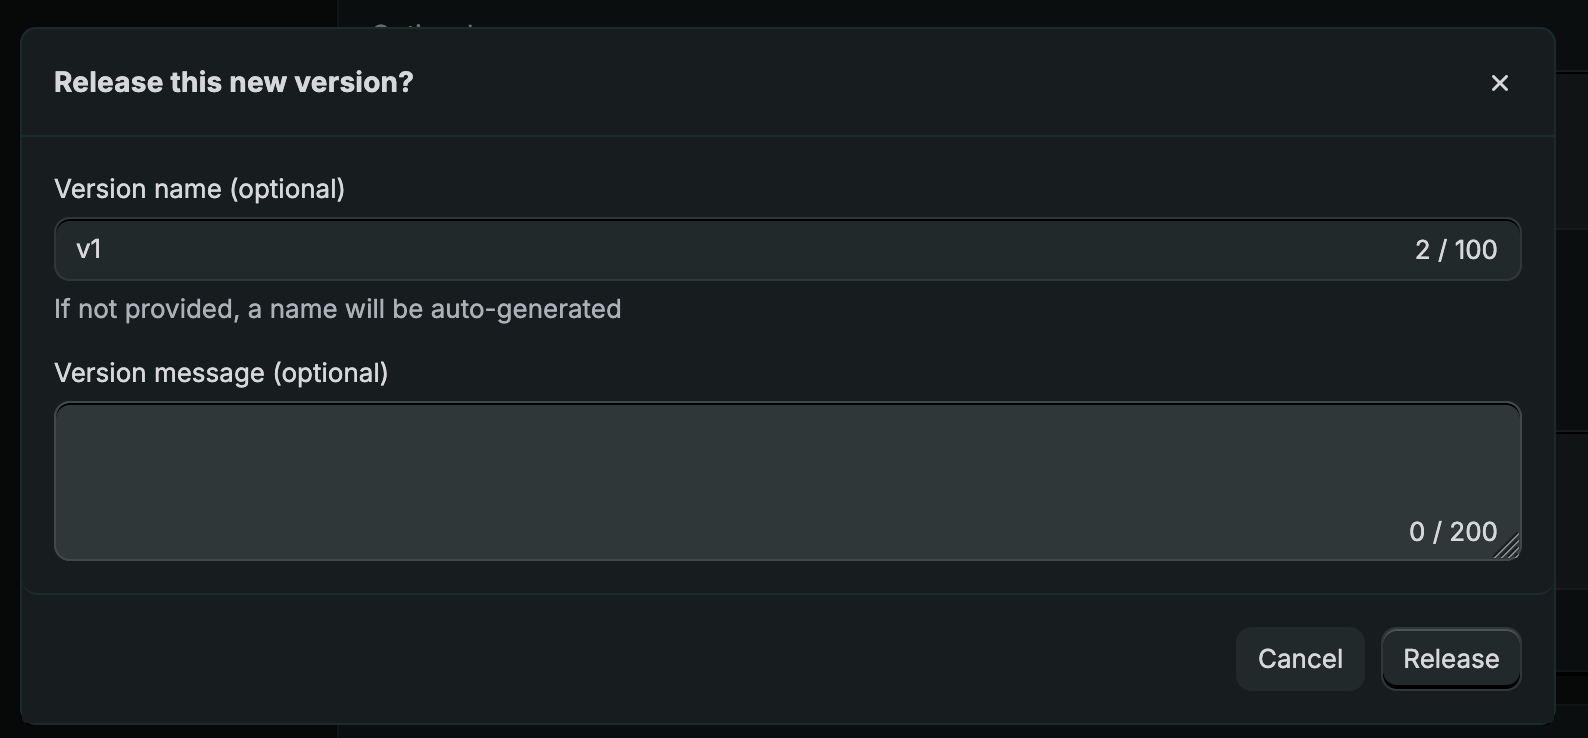
11. Klik op 'Uitbrengen' op de versiepagina. Je kunt een versienaam en een bericht invoeren en vervolgens de app uitbrengen.
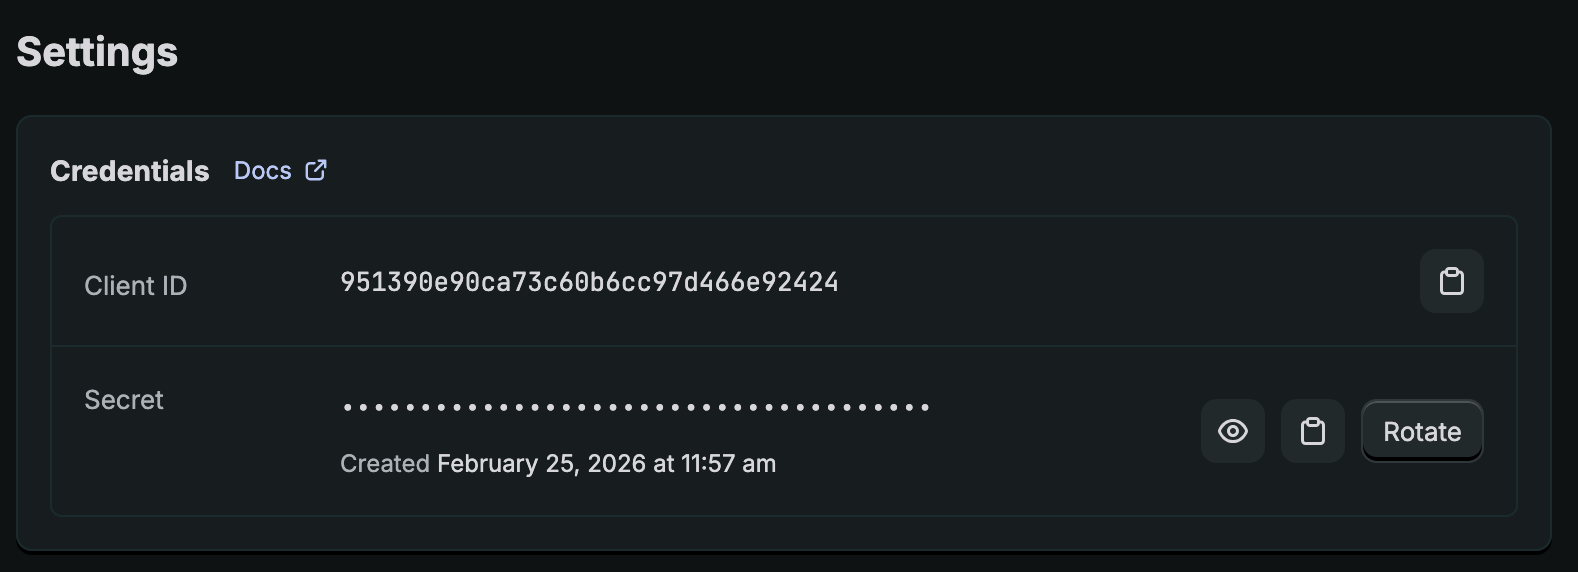
Haal de inloggegevens van de klant op en installeer de app
12. Ga naar het gedeelte "Instellingen" om de inloggegevens van de klant op te halen.
13. Ga naar het gedeelte 'Home' om de app te installeren en klik op de knop 'App installeren' om de app te installeren.
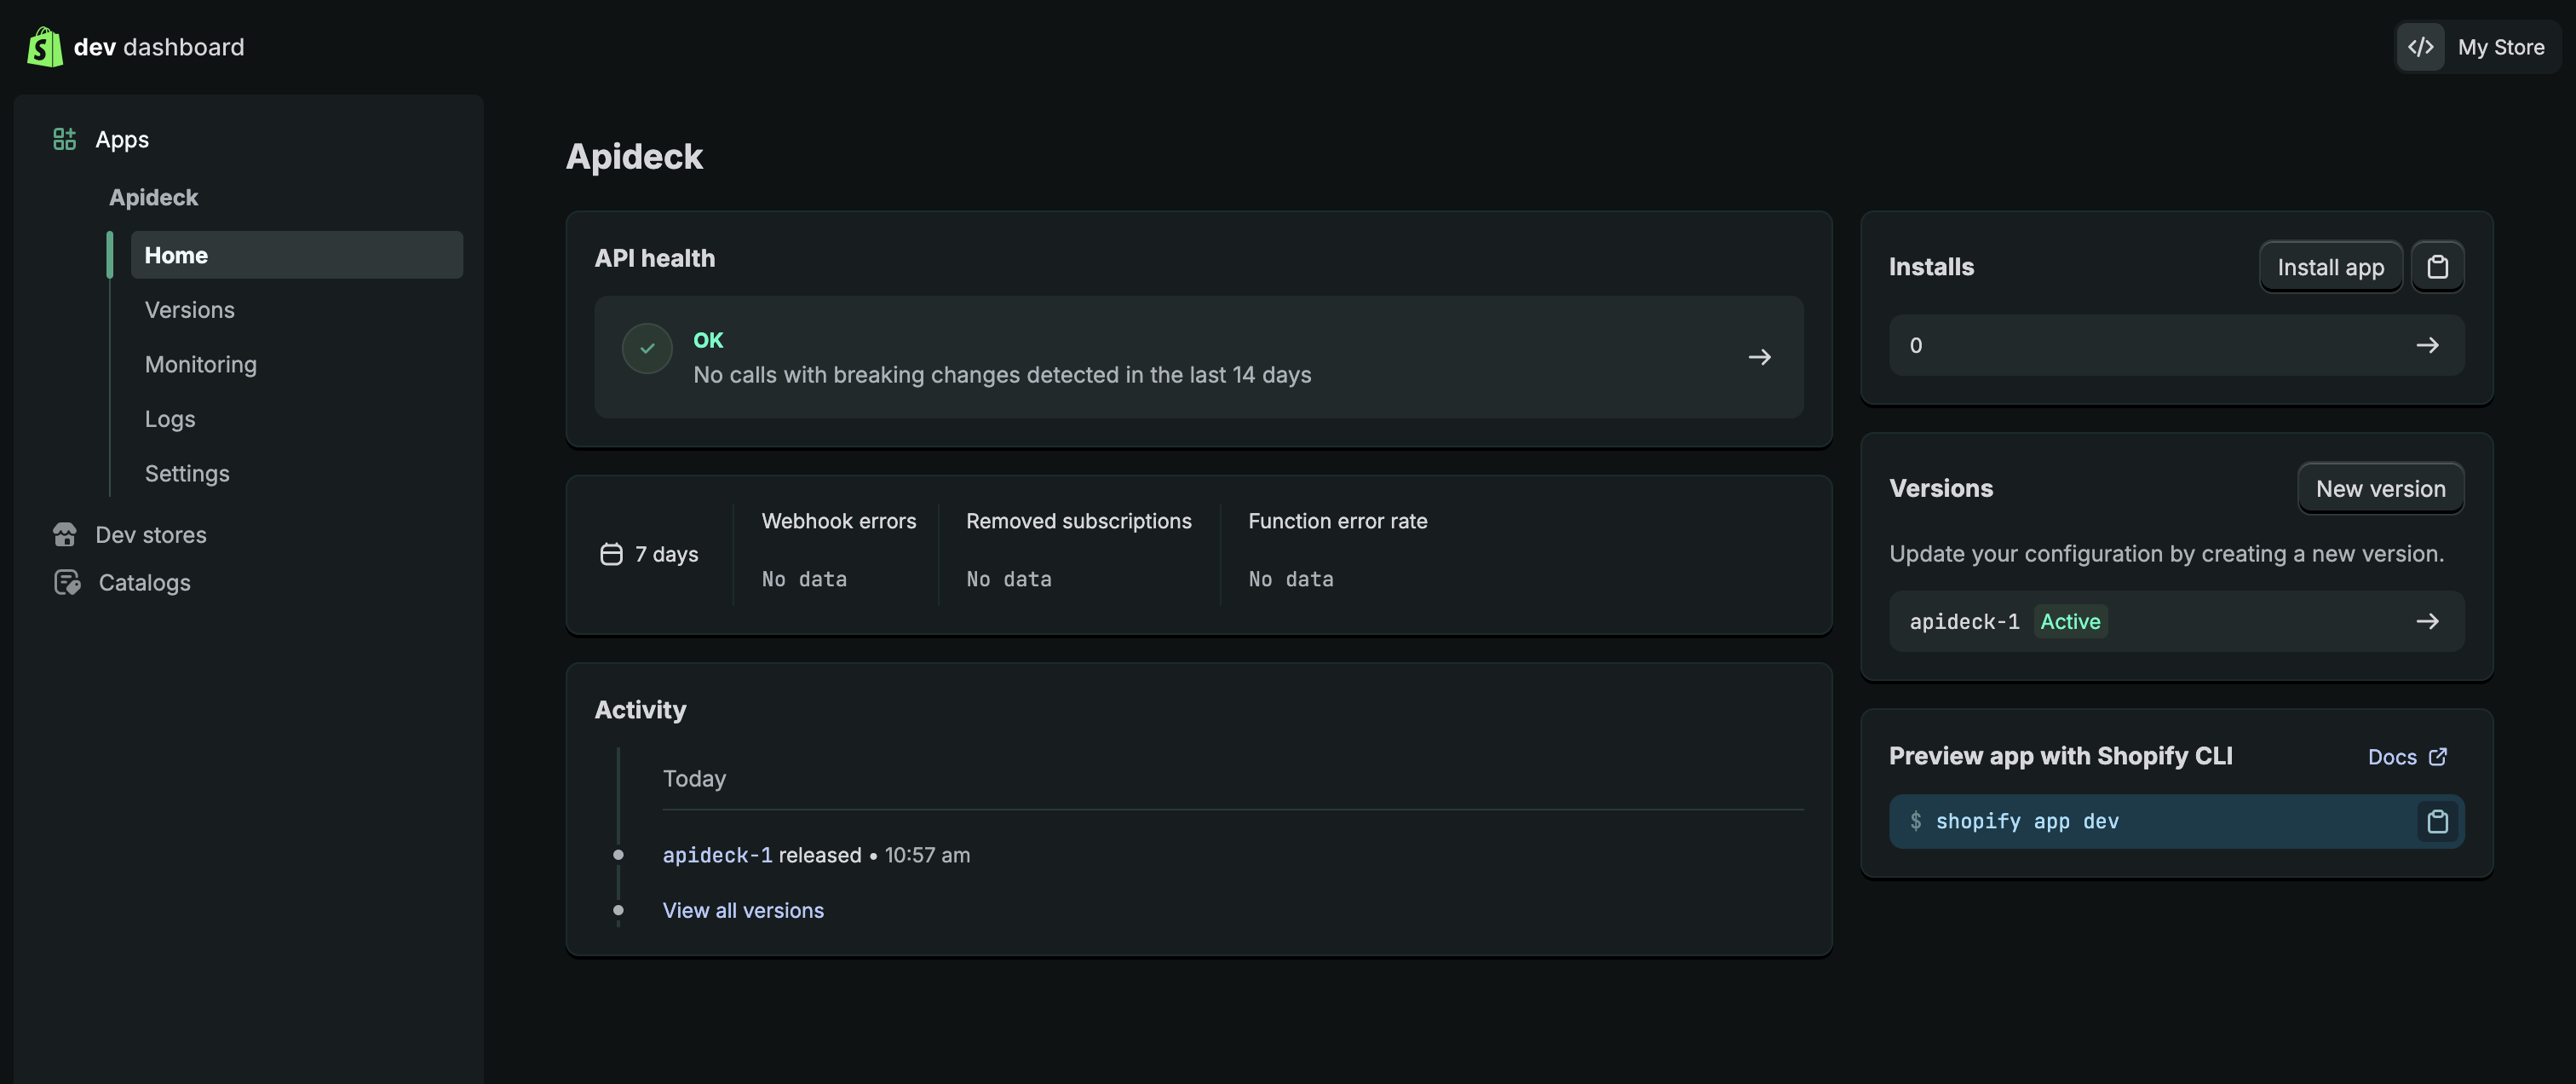
14. Na deze stap word je doorgestuurd naar Shopify om de app in je winkel te installeren door op "Installeren" te klikken.
Stappen die je in Trengo moet volgen
Eindelijk! We weten dat het lang duurt, maar deze stappen zijn cruciaal om ervoor te zorgen dat Shopify werkt binnen de Trengo-omgeving.
1. Navigeer naar Trengo-instellingen en selecteer 'Instellingen', gevolgd door 'Integraties'.
2. Selecteer 'E-commerce' en klik vervolgens op de 'Shopify'-kaart om de beschrijvingsinterface te openen.
3. Klik op 'Integratie installeren' in de rechterbovenhoek om de installatiemodal te openen.

4. Voer je shopnaam in. Merk op dat dit meestal het eerste deel van de URL in je winkeldomein is, aangezien het voorvoegsel https:// en het achtervoegsel .myshopify.com automatisch worden toegevoegd.
Je Shopify-account is nu gekoppeld 🚀